How to Name Self-Tape Files Professionally
Use a clear self-tape filename that follows the casting instructions, identifies you and the role, and keeps multiple scenes in the correct order.
By Sal Framondi
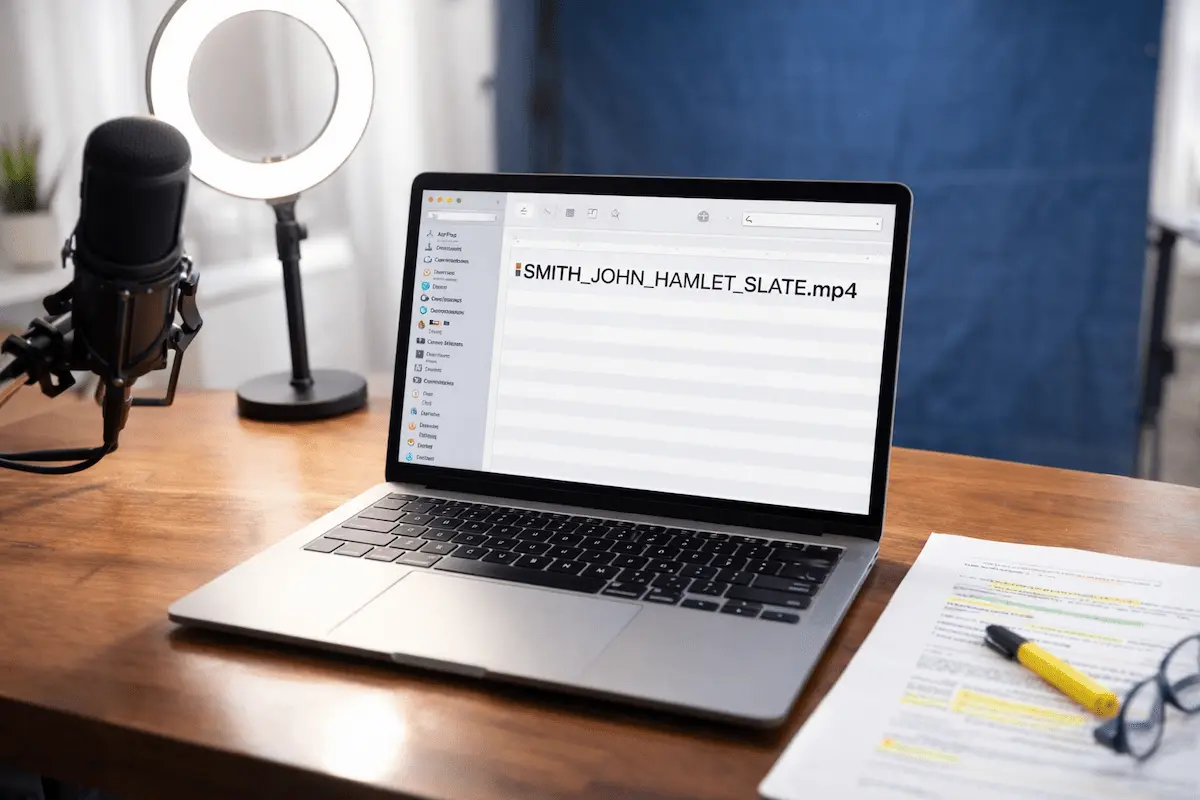
Use the requested name first
The correct filename is the one requested in the audition instructions. If no pattern is supplied, use a short, readable name that identifies the actor, role and file contents without opening the video.
A filename will not improve the acting, and there is no reason to claim that an algorithm rewards one universal pattern. It does prevent confusion when a file is downloaded, forwarded or stored away from the portal profile that originally identified it.
Build a simple naming pattern
A dependable fallback is LASTNAME_FIRSTNAME_ROLE_PROJECT_DESCRIPTION. Keep the order consistent across every file in the submission. For example: SMITH_JORDAN_NURSE_RIVERROAD_SCENE1.mp4.
Use the spelling shown in the breakdown. If the role has a number or short label, copy it accurately. Shorten a very long project title only if the instructions allow it, and use the same abbreviation on every related file.
Do not add information that was not requested, such as your phone number, personal notes or a judgment about the take. The filename is an identifier, not a message to casting.
Name multiple scenes and takes
When you are asked for separate files, add a clear description at the end: SLATE, SCENE1, SCENE2 or TAKE2. If viewing order matters, place a number before the description so ordinary alphabetical sorting keeps the files together.
Examples include SMITH_JORDAN_NURSE_RIVERROAD_1_SLATE.mp4, SMITH_JORDAN_NURSE_RIVERROAD_2_SCENE1.mp4 and SMITH_JORDAN_NURSE_RIVERROAD_3_SCENE2.mp4. Use only the pieces that apply to the request.
Do not label several files FINAL, FINAL2 and FINAL-NEW. Choose the take you intend to submit, archive the others elsewhere and give the selected file its clean delivery name.
Choose safe, readable characters
Letters, numbers, hyphens and underscores are easy to read and travel well between systems. Avoid decorative punctuation, emojis and symbols that add no identifying value. Spaces may work, but underscores make boundaries visible when a system displays or copies the name differently.
Keep the file extension intact. Renaming .mov to .mp4 does not convert the video; it only changes the label. If the portal requires another format, make a proper export or use the self-tape compressor to create an appropriate submission copy.
Check capitalization for legibility, not as a strategy to influence software. The practical test is whether a person can understand the filename quickly and whether all files use the same pattern.
Separate your working files from delivery files
During editing you may have camera originals, sound tests, alternate takes and exports. Keep those in a project folder, then create a separate folder containing only the exact files you will submit.
A useful folder name can include the project and submission date for your own records. Inside it, the delivery files should use the casting instructions rather than your private editing shorthand.
This separation reduces the chance of uploading a rehearsal, a silent export or the wrong take. It also makes the final review faster because every visible file belongs to the submission.
Check the slate and scene instructions
Some casting notices ask for the slate attached to a scene; others request a separate file. Naming cannot correct the wrong structure. Review the instructions before exporting and use the slate guide when you need help recording the slate itself.
If the portal has dedicated upload slots, match each filename to the slot label. Do not rely on a number alone when a descriptive word would remove doubt.
Run a final file check
Open each delivery file and confirm that its contents match its name. Watch the beginning and ending, listen for sound, verify orientation and make sure no required section is missing. Compare the names against the instructions character by character.
Then check the upload page again. Portals can display current requirements that were not included in the original message. Follow the current portal over any general example in this article.
For the broader recording and submission workflow, see the self-tape guide. File naming is one finishing step, not a substitute for preparation, framing or a clear performance.
Rename without losing track of the original
Rename the exported delivery copy, not the camera original. Camera filenames can help you trace a clip back to the source if you later discover an audio or editing problem. Keep the original and the submitted version in the same project folder with distinct roles.
On a phone, review the full name after typing it. Some file apps hide the end of a long name, where the scene label and extension sit. Open the file details or rotate the screen if necessary so you can confirm the complete name.
If an agent, manager or reader sends a revised naming request, use the latest clear instruction and replace the delivery copy. Do not keep two nearly identical final files in the upload folder.
When someone else submits for you
If a representative or production contact will upload the file, confirm whether they have their own naming pattern. Send one clean delivery folder and a short list of its contents. Do not rename the file again after approval without telling the person handling the submission.
When sharing through a storage link, verify that the recipient can download the original delivery file rather than a reduced preview. Open the shared link yourself and compare the displayed filename with your approved version.
A naming checklist
Before uploading, ask: Did I follow the supplied pattern? Is my name spelled correctly? Is the role correct? Can each scene, take and slate be identified? Are the files in the requested order? Did I avoid private notes and confusing labels? Does each file open and match its name?
Clear filenames make the submission easier to manage. Follow the instructions, use one consistent pattern and finish with a deliberate check.