How to Reduce Echo in a Self-Tape Space
Reduce hollow self-tape audio with blankets, rugs and other soft household items, then use simple recording tests to place them where they help most.
By Sal Framondi
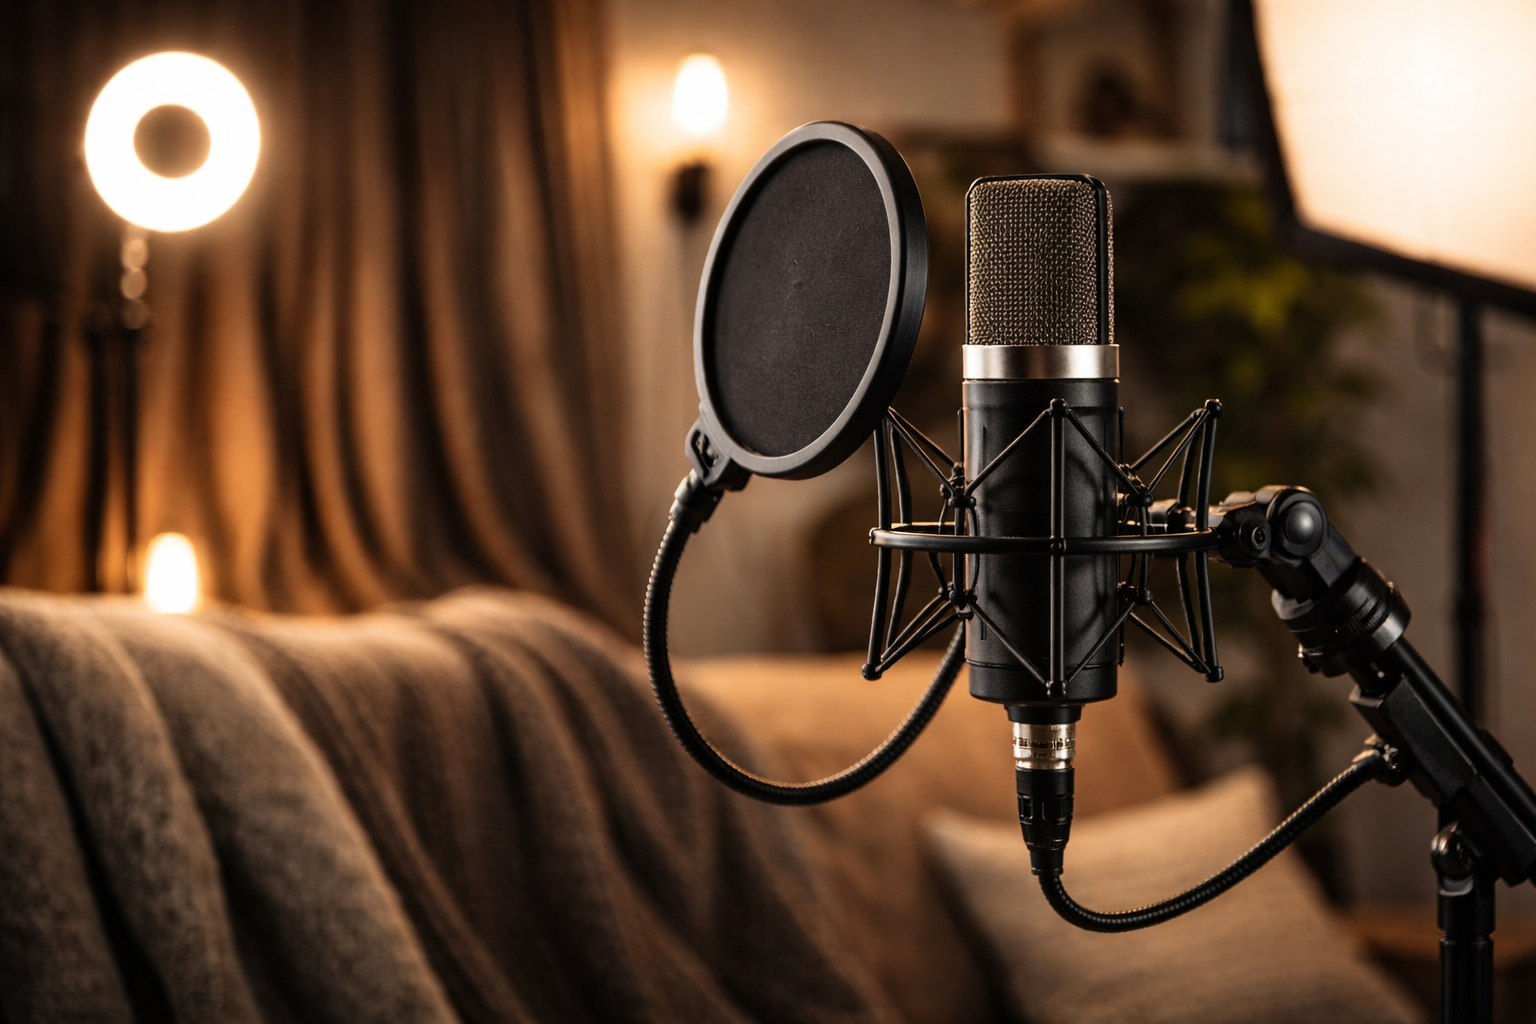
Echo in a self-tape usually comes from your voice reflecting off hard surfaces and returning to the microphone. You can often reduce it with blankets, rugs, curtains and upholstered items you already own.
Do not cover the room at random. Record, listen, place one treatment and compare so you know what actually improves the dialogue.
Learn what room echo sounds like
Stand at the acting mark and record several lines at performance level. Listen through headphones for a hollow tail after words, a sharp ring on consonants or a distant quality that remains even when the microphone is reasonably close.
Room echo is different from outside noise, electrical hum or microphone distortion. Soft materials can reduce reflections, but they will not stop traffic, repair a damaged cable or fix sound recorded too loudly.
The self-tape audio guide covers the complete recording chain. Use this article to improve the room around it.
Find the reflective surfaces
Bare walls, windows, hard floors, mirrors and empty tabletops reflect sound. Parallel surfaces can let the voice bounce back and forth around the acting position.
Look immediately around the actor and microphone first. A distant wall may matter less than a bare floor directly below the recording zone or a window beside the camera.
Furniture changes the room. A bookcase, sofa, curtains and hanging clothes can break up or absorb reflections, which is why a lived-in room may record better than an empty one.
Use dense, soft household materials
Comforters, moving blankets, thick curtains, rugs, cushions and folded towels can absorb some reflected sound. Thin sheets may hide a wall visually but usually do less for audio than heavier material.
Leave an air gap between a hanging blanket and the wall when the setup allows it. Secure every item so it cannot slip into the frame, fall onto equipment or block a doorway.
Do not place loose fabric against hot lamps or ventilation openings. Sound treatment must remain safe.
Treat the floor first
If the recording area has wood, tile or another hard floor, place a rug or folded blanket between the actor and camera. Keep the actor’s footing stable and remove any edge that could cause a trip.
Record the same lines before and after. If the voice becomes less sharp or hollow, keep the floor treatment. If there is little change, move to the nearest wall or window.
A rug outside the camera frame can remain practical in a multipurpose space and requires less setup than hanging material.
Treat the sides of the recording zone
Place heavy soft material outside the frame on one side, then test. A clothing rack filled with garments can work when it is stable. Curtains can help when they fully cover a reflective window.
Repeat on the other side only if the recording still needs it. The goal is controlled, understandable dialogue, not a room with no natural sound at all.
Keep the reader in mind. If the reader stands outside your treated area, their voice may sound much more distant or reflective than yours. Adjust the reader position or add nearby soft material.
Control the wall behind the actor or camera
A reflection behind the actor can return toward the microphone, while a hard wall behind the camera can reflect the actor’s voice back into the recording zone. Test whichever surface is closer and more exposed.
Hang a comforter securely or position an upholstered item outside the frame. Do not build an enclosed overhead structure that can collapse, trap heat or interfere with lights.
If the visible backdrop is fabric, it may already provide some absorption. Listen before adding another layer.
Use a clap test carefully
A single clap can help reveal a sharp ring or long decay. Stand at the acting mark, clap once and listen. Then make a short voice recording, because spoken dialogue is the sound that matters for the audition.
If the clap still rings, move one treatment closer to a likely reflective surface and test again. If the clap becomes dull but dialogue sounds unnatural or muffled, remove some material.
Keep the phone or microphone in its real recording position during comparisons. Changing several variables at once makes the result hard to judge.
Fix noise separately
Close windows when safe, pause fans briefly, silence notifications and move buzzing chargers away from the microphone. Record room tone for several seconds so you can identify steady noise.
Do not rely on aggressive noise reduction to repair a preventable problem. Processing can change the voice and may emphasize other artifacts. A quieter recording is the better starting point.
Save a repeatable arrangement
Photograph the position of every effective blanket, rug and cushion. Label clips and store the items together when possible.
For a shared or small room, choose the few treatments that create the largest audible change. A setup that takes minutes to build is more useful than an elaborate arrangement you avoid using.
Keep the microphone relationship consistent
Room treatment works best when the actor remains in the tested zone. Mark the acting position and avoid drifting much closer to or farther from the microphone during a take unless the scene requires movement.
Test louder and quieter moments from the script. A setup that sounds clear during conversational lines should also avoid distortion at the scene’s strongest point.
Audio check before every take
Record dialogue at the real performance level; listen for echo, outside noise and distortion; compare actor and reader levels; check fabric and clothing noise; and confirm that every hanging item is secure.
Soft household materials can make dialogue closer and clearer when placed deliberately. Test each change, keep the useful ones and let the final recording serve the performance.