How to Self-Tape a Singing Audition
Learn how to choose accompaniment, balance your sound, frame the shot, mark your cut and record a clear musical theatre singing audition.
By Sal Framondi
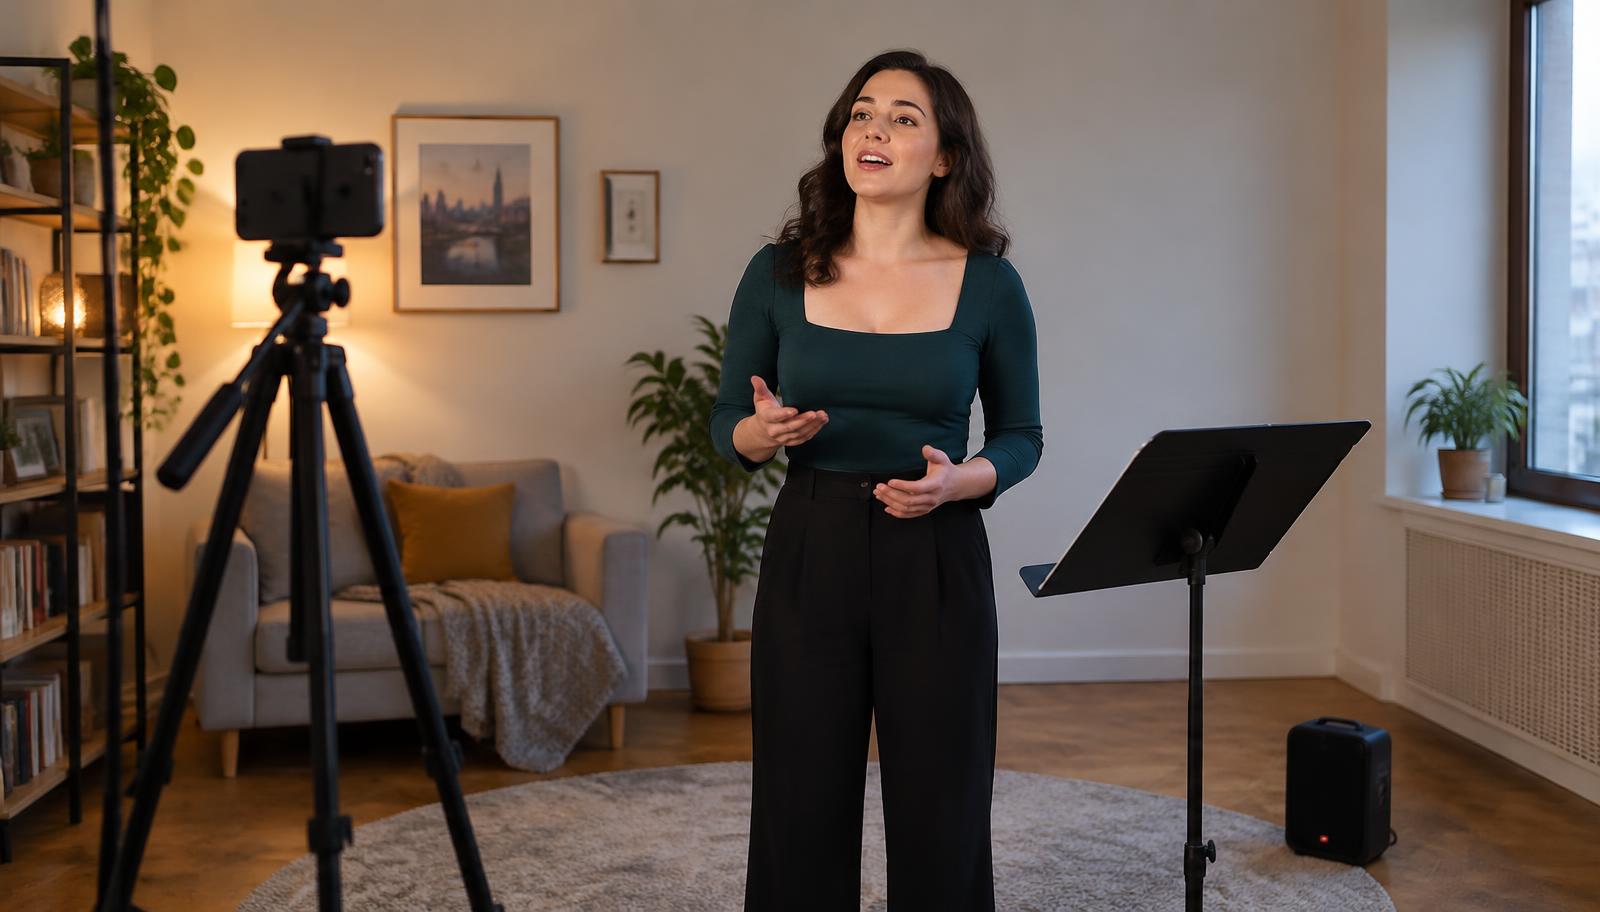
A strong singing self-tape lets the panel hear your voice clearly, understand your acting choices and follow the requested material without distraction. Start with the audition instructions, choose an accompaniment method they allow, and build the recording around the relationship between your voice, the music and the camera.
The goal is not to make a music video. It is to deliver a clean, truthful performance that shows how you sing and tell the story of the song.
Read the instructions before choosing your setup
Musical theatre audition instructions can differ from one project to another. Before rehearsing, identify exactly what the team requests: the song or style, the requested length, whether they provide a track, whether live accompaniment is allowed, framing, slate details, file labeling and the deadline.
Do not assume that the setup you used for your last audition will be accepted for this one. If the instructions provide an accompaniment track, use the specified version unless they invite another option. If they permit your own track or a live accompanist, choose the method that gives you the most reliable performance and the clearest recording.
- Copy the instructions into a short checklist.
- Download and test any provided track before recording day.
- Confirm where the slate belongs and what it must include.
- Follow the requested length rather than relying on a standard bar count.
- Check the required file type and naming directions before exporting.
Choose live or recorded accompaniment
A recorded track is often the simplest option because it behaves the same way on every take. You can rehearse entrances, tempo changes and the ending against one consistent recording. Play it from a separate device rather than the phone or camera doing the filming, and turn off notifications on both devices.
Live accompaniment can give you more flexibility with breath, tempo and phrasing when the instructions allow it. Rehearse with the accompanist before recording so your cut, tempo, start cue and ending are settled. Position the instrument so it supports your voice without dominating the microphone. The accompanist does not need to appear on camera unless the instructions ask for that.
Whichever option you use, avoid switching methods simply because one seems more impressive. Reliability matters. A simple track you know well is more useful than a complicated setup that makes you watch the equipment instead of playing the song.
Balance your voice and the track
Your voice should remain easy to understand throughout the cut. Test the loudest phrase, not only the opening. A balance that sounds fine while you sing quietly may fall apart when both your voice and the accompaniment get bigger.
Record a short test and listen through ordinary headphones and a phone speaker. If the track covers consonants or lyrics, lower the speaker volume or move the speaker farther from the recording device. If the track sounds distant and your timing becomes hard to follow, bring it slightly closer. Change one thing at a time and test again.
Do not place a speaker directly beside the camera microphone. That makes the accompaniment feel unnaturally close while your voice reaches the microphone from farther away. A speaker placed nearer to you can help the phone capture a more believable balance.
For a deeper review of microphones, room sound and placement, use the Academy guide to self-tape audio setup.
Choose a quiet room and test the microphone
Turn off fans, air conditioners and noisy appliances when it is safe to do so. Close windows if traffic or outdoor sound is noticeable. Soft furnishings can reduce harsh reflections, but you do not need to build a recording studio. You need a room where lyrics are intelligible and the sound does not become sharp or muddy.
Keep the recording device at a distance that captures your voice without clipping on louder notes. If you use an external microphone, test it with the exact camera app and device you will use. Confirm that the recording actually used that microphone; a connected cable does not guarantee the app selected it.
Watch one complete test before the real takes. Listen for distortion, delayed track playback, room noise and changes in volume when you turn your head. Fix those problems before spending your energy on full performances.
Frame for singing and storytelling
Use a stable camera at about eye height. Frame wide enough to include the physical life of the song without leaving so much empty space that your face becomes difficult to read. If the instructions specify a full-body, three-quarter or closer frame, follow them.
Leave room for natural breath and gesture. Do not lock your arms at your sides just to remain inside a tight frame. At the same time, avoid movement that repeatedly carries you toward the edge of the picture or changes your distance from the microphone.
Choose an eyeline that supports the scene of the song. Looking slightly beside the lens can preserve the feeling of speaking to someone while keeping your face visible. If the slate asks you to address the camera directly, make that shift clearly.
Choose and mark the cut
Follow the requested length. Select a section that has a clear beginning, development and ending within that limit. Your cut should make sense as a piece of storytelling rather than feeling like a random excerpt chosen only for a high note.
Mark the start and finish in your music and track. Know what happens immediately before your first lyric so you can prepare the breath and thought. Decide whether the final note ends cleanly, carries through an accompaniment button or stops at another point specified in the instructions.
Practice the cut from the actual playback cue. Rehearsing the song from the beginning every time can hide a difficult entrance that appears when the recording starts close to your first line.
Make the slate separate and simple
Provide only the information requested. That may include your name, the song title, the show or composer, your height or representation, but the list varies. Check the instructions instead of adding a long introduction.
Record the slate as a separate clip if requested. If the slate and song belong in one file, leave a calm beat between them and make sure the accompaniment is ready without a long delay. Keep the same clear light and sound unless the instructions require a different frame.
Your résumé may also need to present vocal information accurately. The Academy guide to the musical theatre résumé explains how that document differs from a general acting résumé.
Use a final recording checklist
- Confirm the song, cut, accompaniment and slate requirements.
- Place the camera securely at the requested height and distance.
- Record the loudest section as a sound test.
- Check that your voice stays clear over the accompaniment.
- Review framing, focus, background and eyeline.
- Perform a small number of focused takes rather than exhausting your voice.
- Watch the selected take from beginning to end.
- Label and upload the file exactly as instructed.
If your voice feels strained, stop and reset instead of forcing another take. A fresh, connected performance is more valuable than a technically ambitious take made after your voice and concentration are tired.
Keep the performance at the center
Once the sound is balanced and the frame is stable, stop adjusting equipment and act the song. Know who you are speaking to, what you need from them and how the thought changes through the cut. The technical choices should make that work easier to see and hear.
Follow the current audition instructions, test the whole setup and send the clearest version of your performance. That is what turns a home recording into a useful singing audition.