A contradiction nobody in this field has noticed
The camera wants distance. The microphone wants proximity.
These two instructions are published on different pages of almost every self-taping site, and they cancel each other out.
Two correct instructions that contradict each other
Both of these are right.
And if you have a phone with no external microphone, you cannot follow both, because the camera and the microphone are the same object.
The resolution, and it is the headline of this page
Decouple them. The camera goes where the picture needs it. The microphone goes where your voice needs it.
On a phone with no external mic those are the same object — which is exactly why this is the one place in self-taping where a small purchase genuinely earns its money. Not because your tape needs production value. Because you have deliberately moved your only microphone four feet further away.
A wired lav, six to eight inches below the chin
Solves it completely and costs the least. The mic stays at a constant distance from your mouth no matter where you put the camera.This is the whole reason a lav is the right tool for a self-tape, and it has nothing to do with sound quality in the abstract.
A second device as a recorder
A spare phone on a chair just out of frame, recording audio, synced afterwards. Free if you already have one.The cost is an editing step and a sync risk. Worth it if you are comfortable in an editor, not worth it at eleven at night the day before a deadline.
Trade a little distance
Four feet instead of six is a real compromise. You are still outside the worst of the perspective distortion, and the microphone is meaningfully closer.This is the free option and it is better than most actors assume. The perspective research is about very close distances, not about every inch.
Fix the room instead
Distance sounds bad mostly because of reverb. Kill the reflections and the same distance stops hurting you.Which is why the room comes first on this page and the microphone comes last.
The biggest available improvement, and it is free
Your problem is almost certainly reverb, not noise.
That hollow, bathroom-y wash is sound bouncing off hard flat surfaces and arriving at the microphone a fraction of a second after your voice does. In a small room the reflections come back fast, which produces the boxed-in quality.
The sentence that saves you sixty pounds
“Microphones don’t remove room reflections — absorption does.”
No microphone at any price removes a bad room after the room has been recorded. A modest mic in a soft room beats an expensive one in a tiled kitchen, every time.
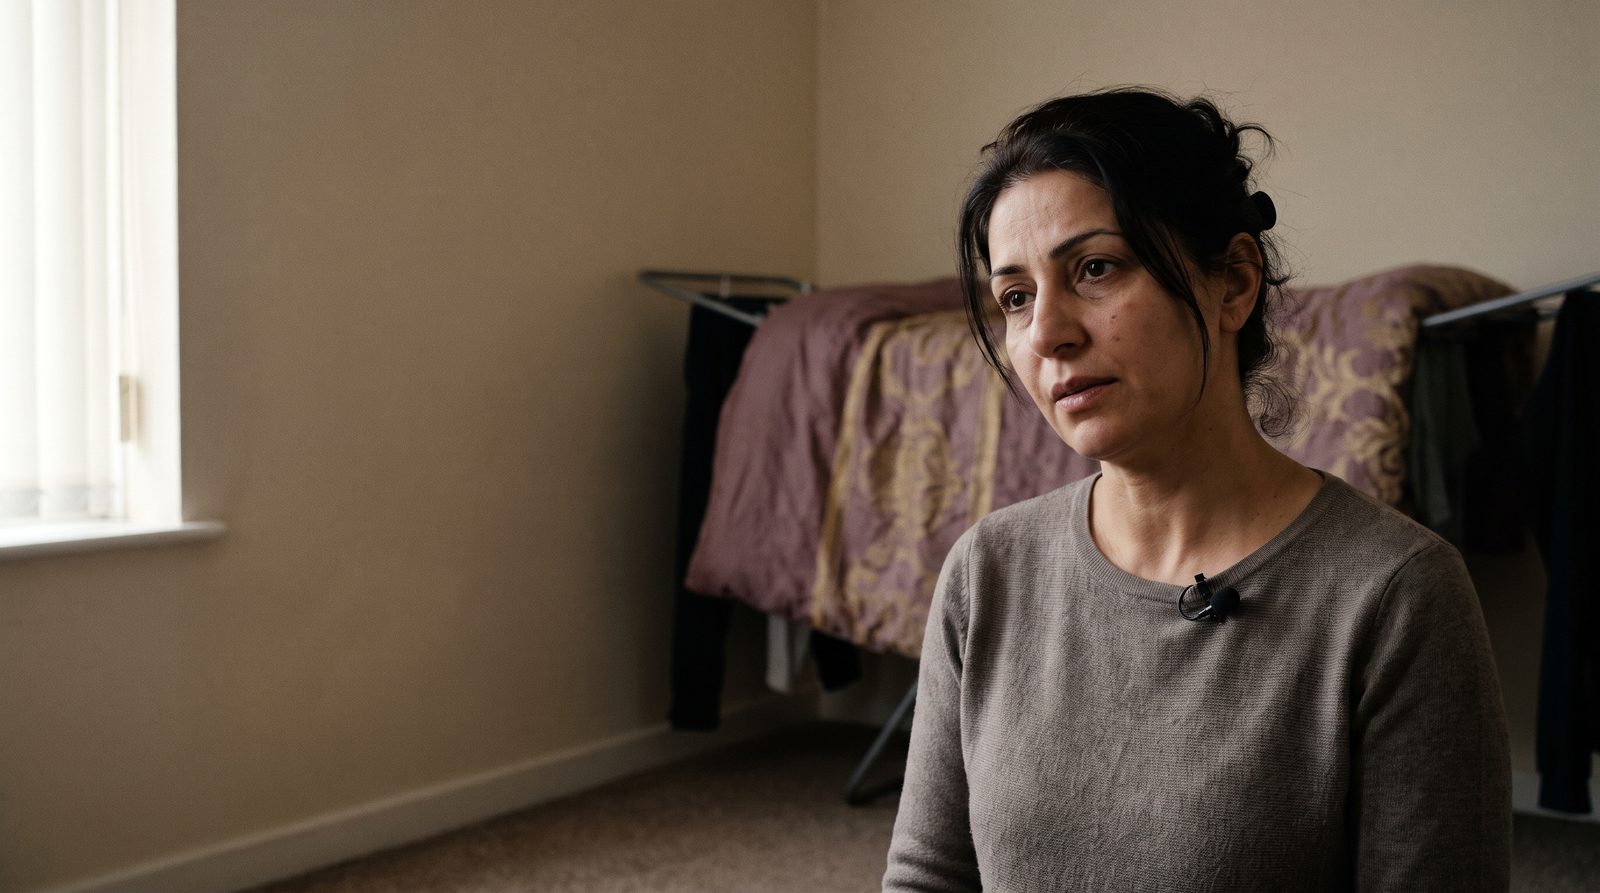
And here is the fact that appears in no self-tape guide we read. The best-sounding room in most homes is a bedroom — beds, mattresses, pillows, curtains and clothes all absorb sound and break up reflections. RADA says it directly: bathrooms are echoey because they are all hard surfaces, and “rooms with soft furnishings, like a bed, will help your voice sound clearer.”
And the best-sounding space of all is a wardrobe full of hanging clothes, because fabric absorbs reflections from every direction at once. That is not a joke or a last resort. Professional voice actors record in closets permanently.
The free fixes, in order of how much they do
None of these costs anything
Room treatment you already own.
- Heavy curtains, a blanket or a duvet on the wall behind and beside the microphone — not just anywhere.
- A rug on a hard floor. It is a large flat surface sitting directly between you, your reader and the phone.
- Leave the corner. Corners concentrate reflections and produce the boxed-in sound.
- Leave an air gap behind a hung blanket where you can. Fabric a few inches off the wall absorbs more than fabric taped flat.
- Close the door and the window, and put something soft in the gap under the door.
Soft furniture gives you a baseline of absorption, but it does not sit at the first reflection points — the surfaces the microphone actually hears bouncing back at it. Treat the walls opposite and beside you, not the ones that happen to be convenient. A sofa behind the camera is doing less than a duvet on the wall you are facing.
Two other chapters recommend hanging a bedsheet or a solid-coloured curtain as a backdrop, and Actors Access prefers fabric over a blank wall because the waves give the picture depth. That fabric is also absorbing the strongest reflection reaching your microphone — the one off the wall directly behind you. The backdrop and the room treatment are the same purchase. Nobody says so.
The step everyone skips, and the reason skipping it is fatal
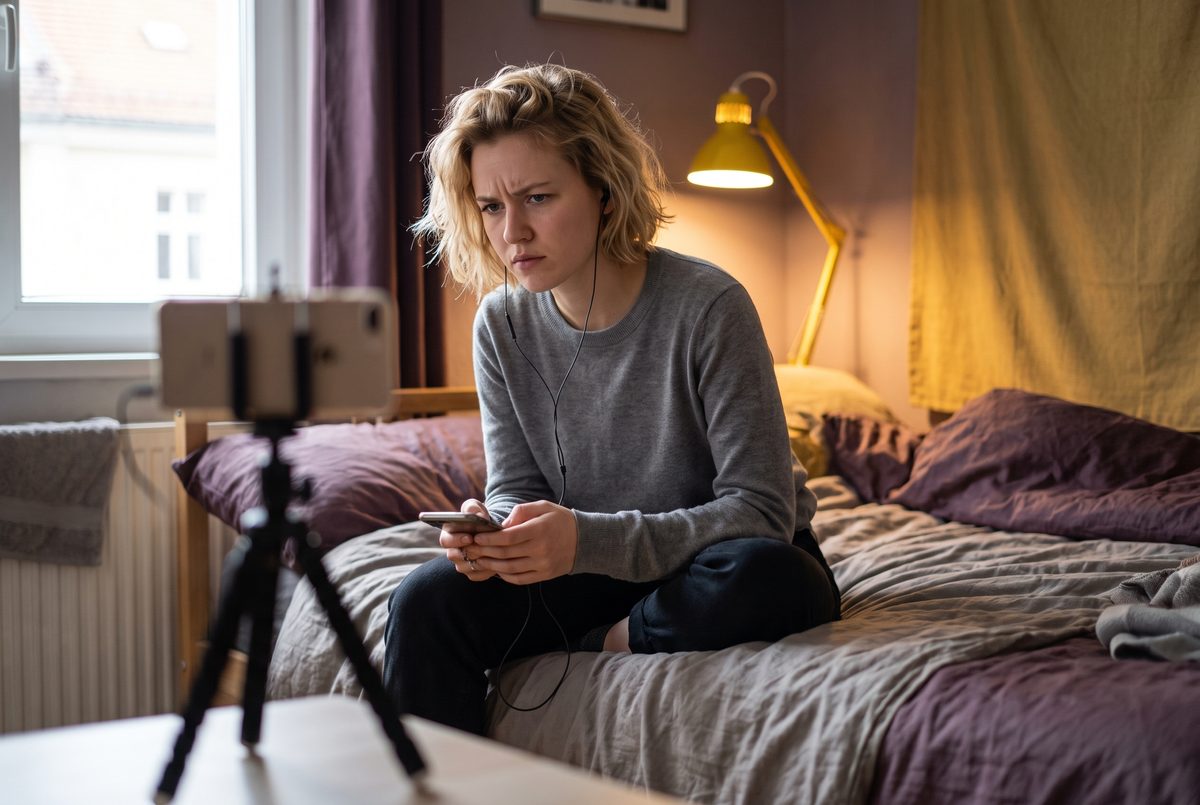
Record fifteen seconds. Listen on headphones.
Marci Liroff says test your lighting and sound before you do the scene. Puro Casting say do a quick test shoot and adjust. Actors Access says always review before submitting. All true, and all of them stop one step short of the thing that matters.
Do not check it on the phone speaker. A phone speaker physically cannot reproduce low hum, and it flatters hiss and reverb — which are the exact three things you are listening for. Every guide says “check your audio.” None of them says “not like that,” and that is how everybody checks it.
And there is a limitation nobody mentions. On a phone recording with the native camera app you generally cannot monitor through headphones while you record. You find out afterwards. That is what makes the test take non-optional rather than good practice.
The protocol
What to listen for in those fifteen seconds.
Build the real setup first
Same distance, same phone orientation, same case and clamp, same mic, same wardrobe, reader in position. A similar test can miss the exact thing causing the problem.
Say three lines
One quiet, one normal, and the loudest line in the scene. The loud one is where clipping shows up and the quiet one is where the noise floor does.
Listen on headphones for four specific things
Is my voice louder than my reader? Is there a hollow tail after each line? Is there a constant hum underneath? Is anything distorting on the loud lines?
Then shoot the take — and listen once more after export
Compression can change what you hear. Play the finished file before you upload it.
Why closer works, in one sentence
Get the microphone nearer. Do not get louder.
Sound follows the inverse square law: double the distance and you lose far more than volume — you lose signal against the room, because the room does not get quieter at the same rate your voice does.
A shotgun microphone works beautifully when it is close and pointed correctly. As one source puts it: “It does not magically ‘reach’ from across the room.” The general filmmaking advice favours a shotgun for a seated interview, and it is right — because a boom operator places it eighteen inches out of frame. An actor alone in a bedroom has no boom operator, which is why the gear blogs do not transfer to this situation.
A trap created by two correct instructions
Your reader is standing in the worst possible acoustic position.
And it is not their fault. It is where the eyeline chapter correctly tells them to stand.
Your reader stands beside the lens so your eyeline lands just off camera. That is also the closest point in the room to your phone’s microphone. So the person who should be quieter than you is sitting nearest the mic, and you, the person who must be heard, are five feet further away. Neither the reader chapter nor any audio guide we found points this out.
The purchase question, and the sources split cleanly
Do you actually need a microphone?
Half the field says no and half says yes. The interesting part is that one side’s own reasoning quietly settles it.
You do not need one
NoCasting Frontier: most phones, laptops and desktops get the job done, and “even the internal microphones on these devices are generally sufficient.”
NoActors Access: the camera mic is acceptable in most cases. Bess Fifer: she does not expect production value — she expects to see and hear you.
You should buy one
YesStageMilk: built-in mics are fine in a pinch, but “if you spend money on one thing, make it audio.”
YesJason Kennedy, via SAG-AFTRA: “a wired mic might be even better than what’s on your device,” and it could really make a difference. Marci Liroff: buy an additional mic if needed.
The argument that actually resolves it, and it comes from the “no” side
Puro Casting tell you why you do not need a mic. Read their reason carefully.
They say the built-in microphone copes fine — because the camera is quite close to you anyway.
That is a conditional, not a verdict. And the camera chapter spends two thousand words telling you to move the camera back, for reasons that are peer-reviewed and not negotiable.
Puro’s condition no longer holds. The phone mic is sufficient when the phone is close — and you have just been told to move it away.
Why the answer to this question changedSo here is the honest version. Buy a microphone not because your tape needs production value, and not because a gear site says so. Buy one because you deliberately moved your only microphone four feet further from your mouth, and something has to close that gap. A basic wired lav does it for the price of a takeaway.
Settings that exist and nobody publishes for actors
What your phone’s microphone actually is.
It is not one microphone. It is an array, and which part of it dominates depends on how you are holding the thing.
There are also Voice Isolation and Wide Spectrum mic modes reachable from Control Centre. Note the version requirements before you go looking: Voice Isolation inside a recording app such as Voice Memos needs iOS 26 or later, and the Automatic mic mode needs iOS 18 or later.
The most current and least published thing in this chapter
iPhone 16 ships with a one-tap reverb remover. And a mic disables it.
What Audio Mix actually is
Studio mode targets the exact problem this whole page is about.
On iPhone 16 and later, video recorded in the native Camera app with Spatial Audio captures several audio streams at once. In the Photos app you can then apply Audio Mix, which separates speech from background and offers four profiles.
There is an intensity slider as well, so you can dial the effect up or down rather than taking it at full strength.
And then the trade-off, which is the genuinely interesting part
Audio Mix is built for the internal microphones. Plugging in an external mic disables it. Which puts an actor with an iPhone 16 in an echoey room in front of a real choice: a lav that fixes the distance but leaves the reverb, or the internal mics plus Studio mode, which fixes the reverb but leaves the distance.
If your room is bad and your space is small, the internal mics with Studio mode may genuinely beat a lav. If your room is decent and you need the camera far back, the lav wins. Nobody has written that sentence down before.
The decision this chapter exists to let you makeRequirements, so you do not waste an evening. iPhone 16 or later, shot in the native Camera app, with Spatial Audio switched on in Settings. iOS 26 extends Audio Mix to third-party apps.
You live on a main road and the tape is due tomorrow
Noise, realistically.
Most audio guidance is written by people with quiet rooms. This is the version for everyone else.
Schedule around it
Noise is periodic. Bin collection, the school run, rush hour, the neighbour’s television — all of it has a timetable. A 48-hour submission window contains quiet hours, and finding them is free.
Get closer to the microphone
The inverse square law works in your favour here. Halving your distance to the mic lifts your voice relative to a constant background without you doing anything differently.
Close the door and window, and block the gaps
Most flat noise is airborne and arrives through gaps rather than through walls. A rolled towel under the door does more than you would think.
Prefer a steady noise floor to an intermittent one
A low constant hum is far less distracting to a viewer — and far more removable in software — than one siren landing in the middle of a line. If you can only have one, take the hum.
Then use software, gently
Caroline Liem notes that iMovie and Audacity will reduce buzzing with noise reduction or an equaliser. Keep it light. Heavy reduction makes a voice watery, and a watery voice is more distracting than the hum was.
SAG-AFTRA’s guidance lists what actually gets picked up: street noise, smoke alarms, appliances, ringtones, fans, air conditioning and chatter from passers-by. Marci Liroff singles out one in particular — an overhead fan running above your head is very distracting to the viewer. And Luca Papp names the pet peeve in its most useful form: not being able to hear you because the volume is too low, sound that is tinny and hard to understand, or “dog barks and sirens constantly in the background.”
If you do buy one
Lav technique, in four things.
What survives the export
Clean at capture beats clean afterwards.
Video files carry compressed audio, and when you re-export smaller to meet a platform cap, the audio bitrate usually drops with it.
The practical implication holds either way. Clean audio at capture is cheaper than clean audio after compression — and switching to mono buys you file-size headroom without costing a self-tape anything it needs.
Before you feel obliged to spend
What you cannot be required to buy.
Where the guidance contradicts itself
The disagreements, laid out.
Do you need a mic?
NoCasting Frontier, Actors Access, Puro Casting: internal mics are generally sufficient.
YesStageMilk: if you spend on one thing, make it audio. Jason Kennedy: a wired mic may beat your device.
How close?
CloseSpotlight: sit as close to the device as possible for the best audio.
BackThe camera chapter: five to six feet, for perceived trustworthiness and facial proportion.
Lav or shotgun?
ShotgunGeneral filmmaking: more natural for a seated interview, and no clothing contact.
LavFor a lone actor with no boom operator, the lav wins — a shotgun does not reach across a room.
Where does the reader stand?
Beside the lensEvery framing source, for your eyeline. Correct.
Worst spotThat is also the closest point to the phone’s mic — the worst acoustic position in the room.
How do you fix reverb?
Buy a micWhat most actors assume, and what most gear pages imply.
AbsorptionAcoustics sources: microphones do not remove room reflections. Only absorption does.
Processing?
Use itiPhone Studio mode removes reverb in one tap, for free.
CarefulAn external mic disables it, and no casting director is on record about processed audio.
Wired or wireless?
WirelessFreedom of movement, no cable to hide.
WiredInterference is a real risk, you are standing still, and wired costs less.
Before you press record
The audio check.
- I am in the softest room available — and I considered the wardrobe.
- There is fabric on the wall I am facing, not just behind the camera.
- I am not in a corner, and there is something on the hard floor.
- The microphone is close to me, and I am not projecting to compensate.
- My reader is beside the lens but quieter than me.
- Doors and windows are shut, and nothing is humming overhead.
- I recorded fifteen seconds in the real setup and listened on headphones.
- I checked the finished export, not just the original.

Two free changes beat any microphone.
Move into the softest room you have and hang something on the wall you are facing. Get the microphone closer instead of getting louder. Those two things fix most of what casting complains about, and neither costs anything.
Then buy the lav — not for polish, but because the camera has to be six feet away and your voice cannot be.
Get your sound checked