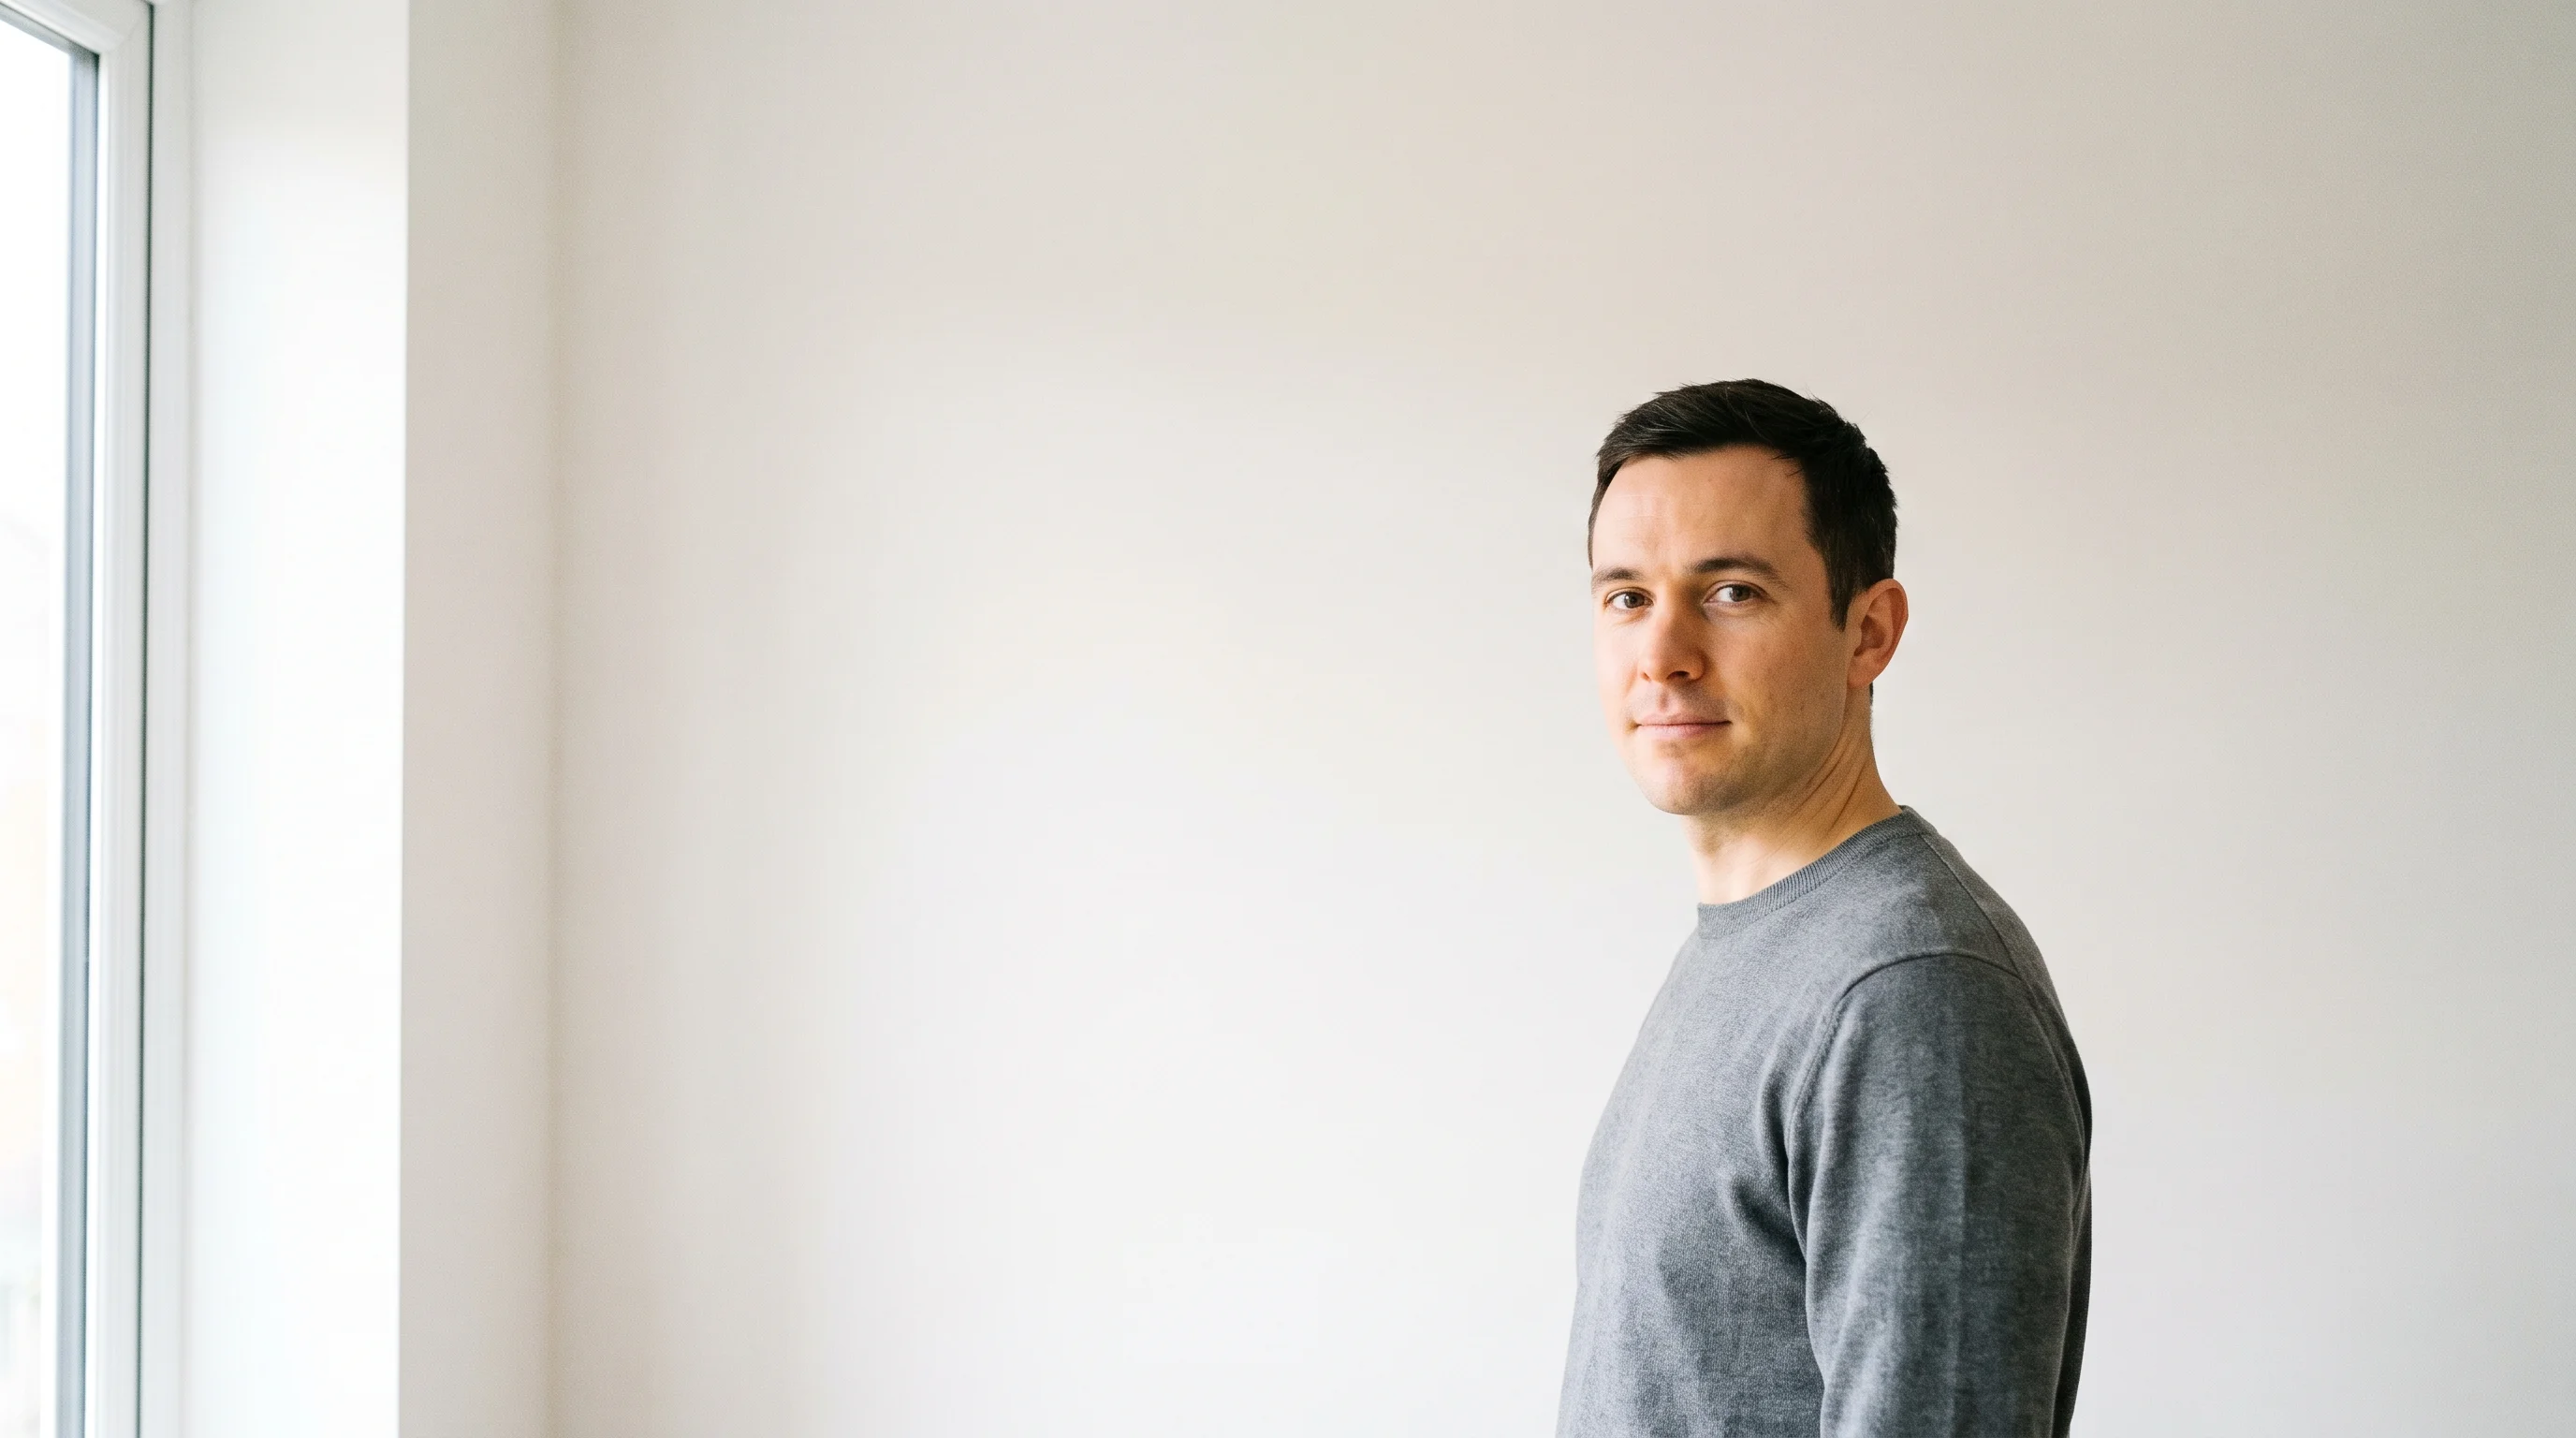
Are you actually allowed to?
This is the question underneath the embarrassment, and it has a clearer answer than anybody publishes. The platforms have written it down and they do not agree with each other.
Spotlight, the largest casting platform in Britain, publishes an article called “How to Take an Amateur Headshot”. It was updated on 15 June 2026. In it they say that “it’s perfectly fine to take a ‘selfie’ instead, but ensure that you pose professionally for it.”
They also require a photographer credit before any image can be uploaded, which people assume rules out a self-taken photograph. It does not. “If you took the photo yourself, you can put ‘Self Portrait’ instead.” The field is mandatory and the answer is provided for you.
Two smaller notes. Central Casting states plainly that photos “do not need to be taken professionally” — though they cast background work, which is a different job from principal casting. And we went looking for a rule from the unions and there is not one. There is a workshop run by a union foundation that will not accept selfies for its own photo-critique class, which is a class rule rather than a union policy, and it gets quoted as though it were the latter.
The only thing that actually matters
A cinematographer said it in one sentence in 2017 and it remains the best instruction on this subject anywhere.
Ava Berkofsky was the cinematographer on Insecure, and she became known for lighting black skin properly at a time when, in her words, “when I was in film school, no one ever talked about lighting nonwhite people.” Asked for advice you could use on a phone, she said this.
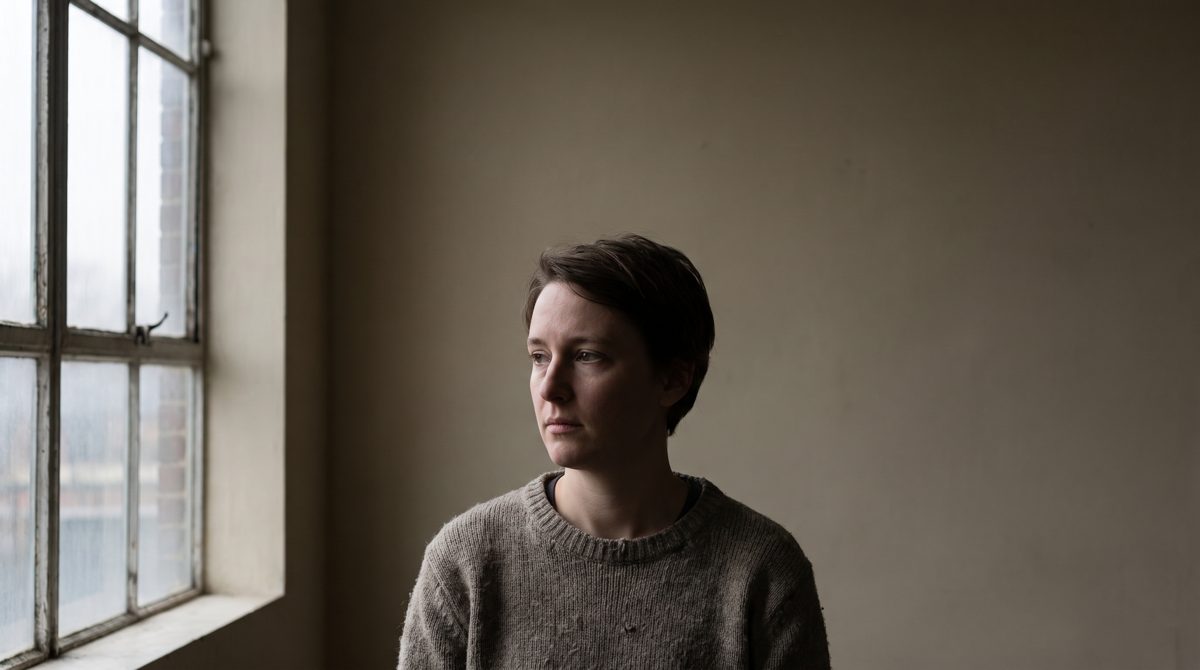
“Stand close to a soft light source and turn three quarters to the light, so that it’s not filling in everything the same way. Kind of like a Rembrandt painting.”
Stand close — because a light’s softness depends on how large it appears from where you are standing, not on how large it is. A window three feet away is enormous. The same window across the room is small and hard.
Turn three quarters — because light arriving from straight on fills everything evenly and flattens the face. Turning gives you shadow, and shadow is what makes a face look like a solid object rather than a drawing.
Two practical consequences follow, and one of them is counter-intuitive. An overcast day is the best condition there is, because cloud turns the entire sky into one enormous soft source that holds steady all day. Direct sun is small, hard and moves. Waiting for nice weather is exactly backwards.
And the window matters. In the northern hemisphere a north-facing window never receives direct sun and gives the same soft light from morning to evening. South of the equator that is a south-facing window. Everything else in the room should be switched off, because mixing daylight with a warm bulb gives you a face that is two colours at once and no editing fixes it cleanly.
The one gesture that fixes the most common failure
Our own instruction — stand close to a bright window — creates the exact condition in which a phone gets your face wrong. Here is the fix, and it takes three seconds.
A phone meters the whole scene before every shot. Put a bright window behind or beside you and it will expose for the window and leave your face dark. Then it will re-decide, slightly differently, on the next frame.
That tells the camera what to focus on and what to meter for. It is the single most skipped step in amateur photography.
Raise the brightness of the face. Do not try to rescue the window — let it blow out. Nobody is casting the window.
On an iPhone that is AE/AF Lock, which fixes focus and exposure together so the camera stops re-deciding between frames.
There is one place where the iPhone is genuinely the weakest of the three, and it is worth knowing if your room has mixed light. You cannot lock white balance for photographs on an iPhone at all — there is a lock for video, buried in Settings rather than in the camera app, and nothing for stills. Samsung and Pixel both let you set colour temperature by hand in their Pro modes, with no extra app needed. If your photographs keep coming out orange, that is why, and switching the other lights off is the free fix on any phone.
Film it. Do not photograph it.
A self-timer produces the face of a person operating a self-timer. Getting a friend to press the button is better, and it still leaves them guessing when to press.
What you are hunting is a real thought arriving on your face. That lasts a fraction of a second and it does not announce itself. A shutter gets one chance at it. Video at thirty frames a second gives you thirty chances every second and lets you choose afterwards.
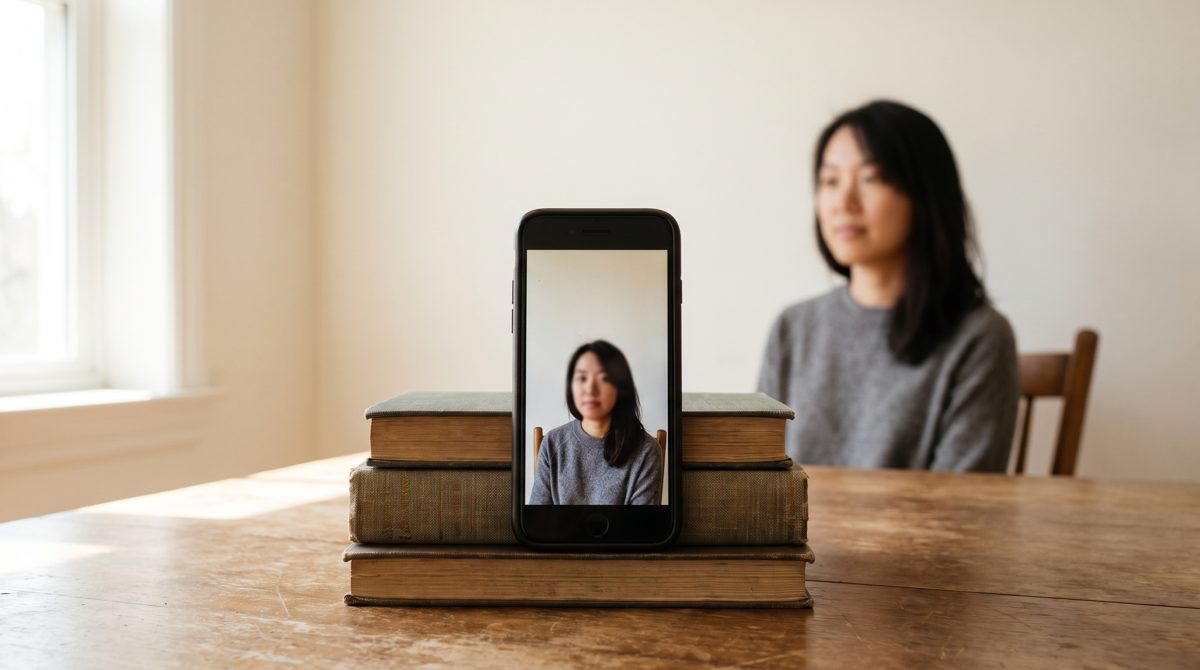
Set the phone on a stack of books at chest height. Frame it. Lock the exposure on your face.
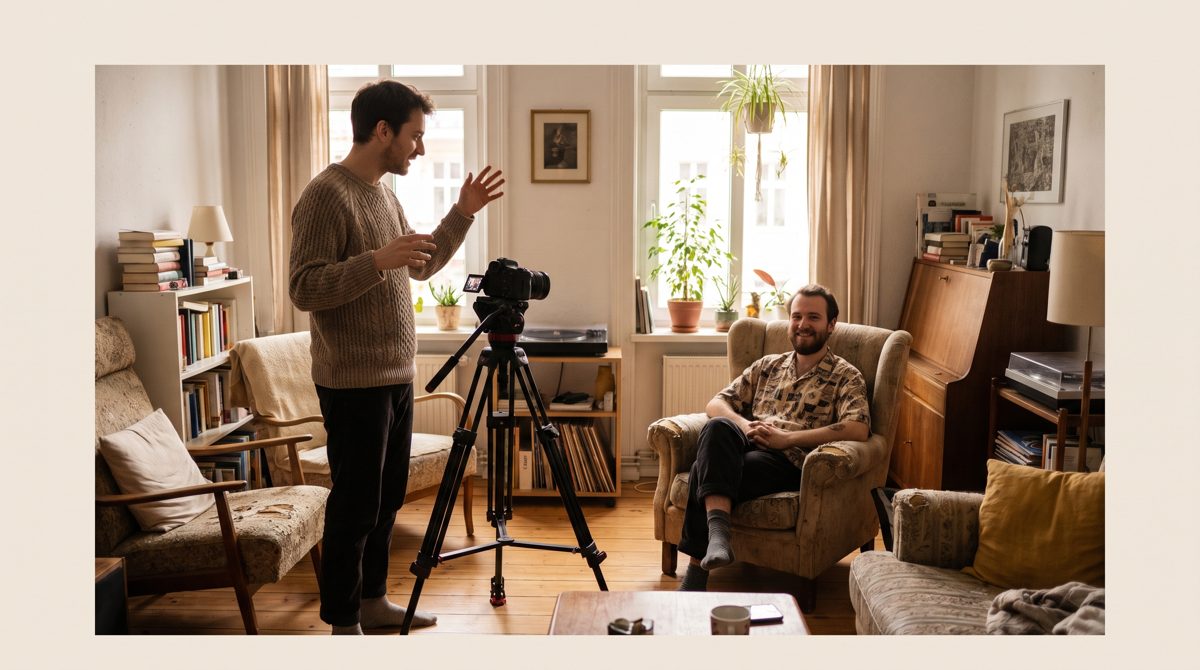
Shoot 4K video and have your friend talk to you for three or four minutes. Not posing — talking. Ask them a real question, get them to tell you something you have not heard, let them make you laugh unexpectedly.
Afterwards, scrub back through and pull the frames you want at full resolution.
If you are genuinely on your own, put someone on speakerphone and have the conversation anyway. You cannot direct yourself, but you can be in a real conversation, and that is the part that does the work.
The technique is not something we have invented, though its application here is ours. Esquire shot a June 2009 cover this way — the photographer Greg Williams filmed on a cinema camera and pulled the stills from the footage — and a Pulitzer-winning photojournalist was arguing for frame-grabbing as a working method as early as 2005. Nobody has recommended it for actor headshots specifically. That part is our reasoning, built on a real and established technique.
The honest limit, and it is worse than the rule suggests
There is one real cost to the video method and you should know it before you rely on it.
A video frame is captured over a slice of time rather than an instant, so movement smears. The conventional expectation at thirty frames a second is a shutter around one sixtieth of a second, which is already slow for a moving head.
But phones do not hold to that. In a dim room the camera lengthens the exposure to gather more light, which makes the blur worse than the rule predicts, not better. A laughing head in a dark bedroom will give you soft frames and there is no fixing it afterwards.
On whether the resolution is enough: a vertical 4K frame cropped to headshot proportions gives you about 2160 by 2700 pixels, which clears the published minimum for every major casting platform comfortably. Spotlight asks for at least 500 pixels square. The practical limit is not resolution, it is sharpness and noise, which is another way of saying it is light again.
Portrait mode, and why we would not
Our research said no source had tested this. That turned out to be wrong, and the source makes the case better than our reasoning did.
Portrait mode does not produce optical blur. It identifies where it thinks you end and the background begins, and blurs everything outside that line computationally. The quality of the photograph depends entirely on how well it draws the line.
DXOMark, which tests camera systems formally and publishes its methodology, scores exactly this under subject and background separation. Their device reviews repeatedly name the same failures: blur artefacts on individual hair strands and on the arms of glasses.
What money actually buys
This is the honest case for doing it yourself, and it is stronger than the usual one about a good amateur beating a bad professional.
There is research showing that different photographs of the same person produce about as much variation in how strangers judge them as photographs of different people do. Lighting, angle, expression and the moment captured move the needle that much.
Every one of those four is free. They are also exactly what this page teaches. What a professional adds is the fifth variable — the refinement of the light falloff, the micro-detail, the practised eye for the frame that works. That is real and it is the least influential of the five.
And the limit we will not soften. If you are going out for leads on a major production, a self-shot headshot will look like one, and at that level the fifth variable starts to matter. This page is for the year before that, which for most actors is most years.
Grading the sources
Two things our research told us were wrong, one gap it flagged turned out to have an easy answer, and the platform question it treated as settled is not.
One thing worth noting about a source we did not use. A widely quoted piece telling actors “no selfies” and that you still cannot use a phone turns out to be written by an actor and playwright, paraphrasing casting directors who are not named. It reads like industry consensus and it is one person’s article. That is the fourth time on this site we have traced a confident industry rule to somebody with no particular standing to make it.
Where we differ from the standard account
Are self-taken headshots allowed?
Commonly saidNever. It is unprofessional and casting will bin it.
What we foundSpotlight publishes a guide to doing it. Backstage advises against. Check the platform you are submitting to.
What is the important variable?
Commonly saidThe camera.
What we foundLight and direction. A cinematographer’s phone advice is one sentence long and mentions no equipment at all.
When should you shoot?
Commonly saidWait for a nice sunny day.
What we foundExactly backwards. Overcast turns the whole sky into one enormous soft light that holds steady all day.
How do you take it without a photographer?
Commonly saidUse the self-timer.
What we foundFilm four minutes of video while somebody talks to you, then pull the frames. A shutter gets one chance at a real thought.
Can you just screenshot the good frame?
Commonly saidObviously.
What we foundNo. A screenshot is screen resolution. You throw away more than half the picture.
Is portrait mode a free upgrade?
Commonly saidYes, it looks more professional.
What we foundIt damages the edge of your head, which is the feature that survives at the size casting sees you.
Is a phone headshot obviously a phone headshot?
Commonly saidAlways.
What we foundFour of the five things that drive the impression are free. The fifth is real, and it is the least influential.
Do this on the next grey day, and it costs nothing at all. Stand three feet from your biggest window, turn three quarters towards it, switch every other light off, lock the exposure on your face and film four minutes while somebody talks to you. Pull the frames afterwards with a proper tool rather than a screenshot. That is the entire chapter, and the weather you have been waiting for is the weather you have been avoiding.