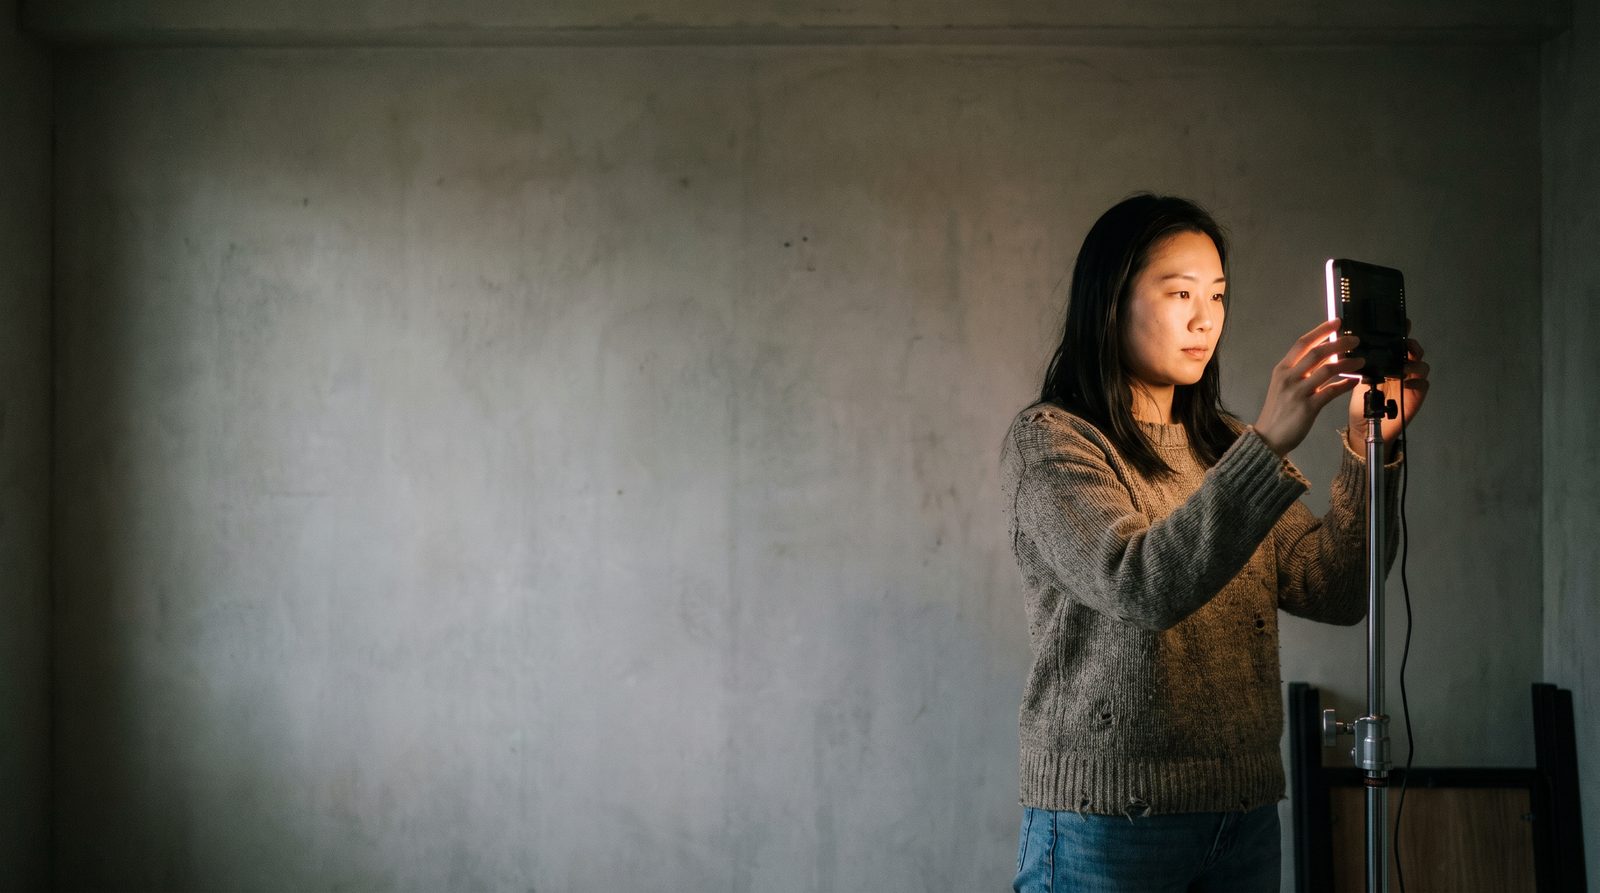
Start where you actually are
What is wrong with your tape?
Nearly everyone lands on a lighting page because they watched a take back and could see something was off without being able to name it. So let us name it. Pick the one that matches and go straight there.
First, how much does this actually matter?
Lighting is a gate, not a lever.
Casting is more unanimous about lighting than about almost anything else in self-taping — and the two apparent opposites turn out to be describing the same thing from either side of it.
Bess Fifer of Severance: she does not expect production value. She expects to see you and hear you.
Nancy McBride: presentation is vital, you get one shot, and if it does not look good you may get about three seconds.
A SAG-AFTRA panel calls proper lighting one of the most important details — then advises against an elaborate setup.
Casting director Marci Liroff gives the practical version: test your lighting before you shoot the scene, and “Natural lighting is best.” If you have not got it, inexpensive lighting exists — but test it before the audition rather than during it.
So here is the honest framing
Good lighting gets you watched. It does not get you cast. Clear the bar and stop — nothing above the bar buys you better odds, and every hour past it is an hour not spent on the scene.
The part that costs nothing
Three rules nobody disagrees about.
These are unanimous across the Casting Directors’ Guild, Actors Access, Spotlight, RADA and every casting office we read. They are also free, and between them they fix most bad home lighting.
In front of you, not above you
The CDG guide asks actors to make sure you are “lit in front, rather than above”, calling overhead very unflattering. Actors Access agrees — direct overhead light carves deep shadows that change your face. Puro Casting says avoid any source directly above or below.This is the commonest failure because it is the default. The ceiling fixture is what was already on when you walked in. It drops your eye sockets into shadow, throws your nose down your face, and makes you read as tired. Turn it off. Put a lamp in front.
Never with the light behind you
A Spotlight panel of casting directors put it in five words: “Don’t be backlit as this can put your face in shadow.” The panel included Sharon Bialy, Priscilla John, Lucinda Syson, Kelly Valentine Hendry and Debbie McWilliams. They add: do not film against a window. The view outside will look beautiful and you will be a silhouette.RADA reduces the whole thing to a rule of thumb worth memorizing. Window behind the camera, not behind you.
One kind of light, not two
Daylight from a window runs around 5600K. A warm household bulb runs 2700 to 3200K. A camera can white-balance for one or the other and never both, so half your face goes blue and the other half orange — and no amount of editing fixes it afterwards.The fix is subtraction, not addition. Either close the curtains and use lamps, or switch every lamp off and use the window. Pick one, kill the other.
Overhead off. Nothing bright behind your head. One colour of light in the room. No purchase fixes any of those three, and nearly every bad self-tape fails at least one of them.
The principle underneath all of it
Soft and close beats bright and far.
A small, hard, distant light is what makes a face look harsh and flat at the same time. A large, soft, close one is what every professional in this chapter is describing when they say “good light.”
And what makes a source soft is its size relative to your face, not its power. A bare bulb behind a white bedsheet is a much bigger source than the bulb was. A window with a net curtain across it is enormous.
Which is why turning the brightness up is so often the wrong instinct. If your light is harsh, you do not need more of it. You need more area of it.
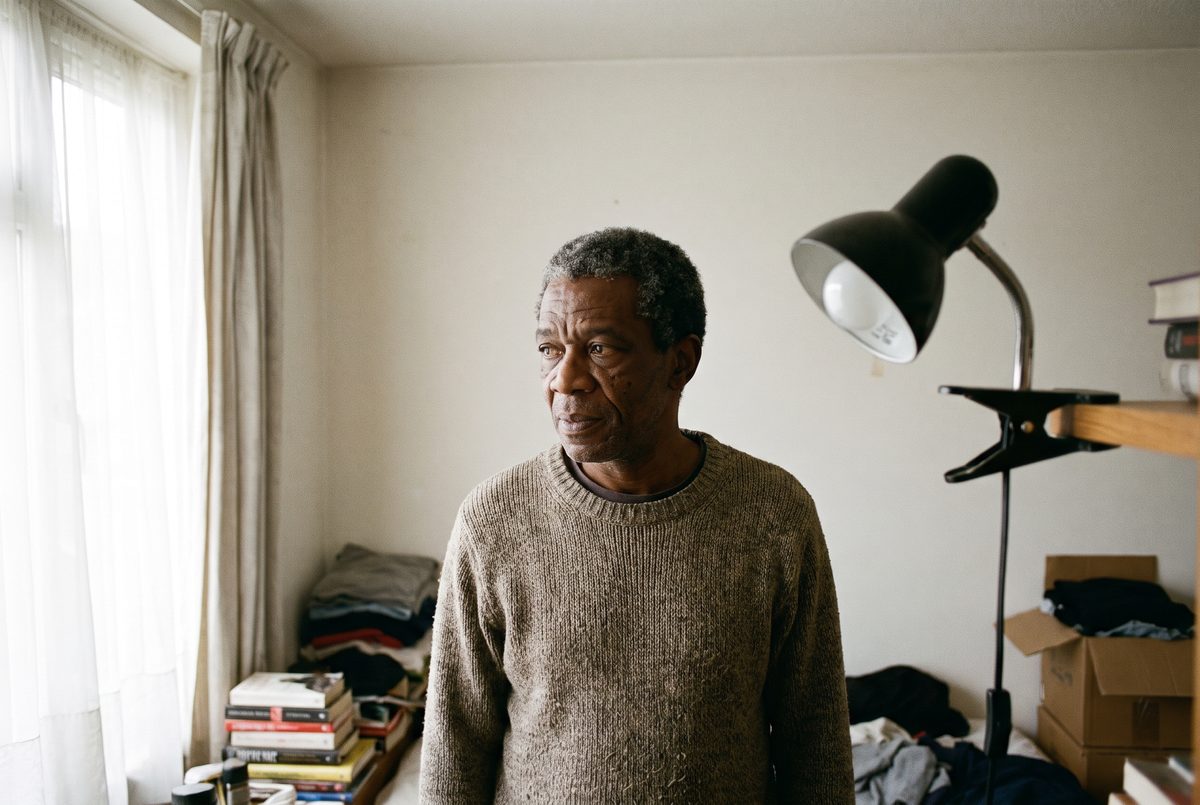
The section every other page is missing
If every lighting guide feels like it was written for someone else
That is because a lot of them were, and the people who light television for a living are on the record about it.
Ava Berkofsky · director of photography, HBO’s Insecure
The standard advice has a history.
What this answers: why does the usual guidance not seem to work on my face?
Berkofsky, who shot Insecure from season two, has said plainly in interview that at film school nobody talked about lighting non-white people. The convention she was taught was to put skin tones at around 70 IRE and assume the picture would come out right. On Black skin, she says, pushing to 50 or 70 IRE makes the rest of the image look wrong. She names The Fresh Prince of Bel-Air and The Cosby Show as the visible result — very bright, and almost without contrast.
The reason runs deeper than any one person’s training. Colour film stocks were tested on white models, and the chemistry was developed to reproduce those skin tones. Kodak’s reference cards for calibrating colour — the industry standard for decades — were known as “Shirley cards,” after a white Kodak model. Serious pushback came a great deal later than you would hope.
What she does instead
Her approach on Insecure was reflected rather than direct light — a large white source at low intensity, held close. Her own description of the principle is the useful part: “it’s reflecting on her skin rather than ‘lighting’ it.”
And the free instruction, which works in a bedroom
Someone asked her a simple question: what could a darker-skinned person do to look as good in their own pictures as her actors do on screen? Her answer needed no equipment at all.
“Stand close to a soft light source and turn three quarters to the light.”
Ava Berkofsky — she compares the result to a RembrandtNot facing it square on. Turned about three-quarters toward it, so the light shapes the face instead of filling every part of it in the same way. It costs nothing, it takes one step, and it is the most useful single line in this chapter.
What the rest of the field does, and what it means at home
This is not one person’s view. Cinematographer Birgit Bebe Dierken BSC and gaffer John Kevin Gibb expose for the darker skin tones in a frame. Their principle: crushing highlights is easier in post than lifting shadows. On Sexy Beast they keyed for the darkest skin tone and shaped the lighter ones around it.
Cinematographer and lecturer Tunji Akinsehinwa warns against the opposite instinct — the over-lighting that leaves a Black cast barely identifiable. He recommends soft light, with the darkest-skinned actor closest to the source.
The spec on the box that nobody explains
Why cheap lights make skin look grey.
Two numbers, one of which is usually hidden
It is almost certainly not your camera.
What this answers: my skin looks ashy or muted and I cannot work out why.
CRI — the Colour Rendering Index — scores a light from 0 to 100 on how accurately it renders colour. Film guidance puts “a CRI of 90-95 or higher” as desirable, specifically for skin tones.
Here is the catch, and it is the whole reason this section exists. CRI averages only eight low-saturation pastel test colours. Saturated red — the value called R9 — is not one of them. And R9 is the value that governs skin.
So two lights can both be sold as CRI 92 while one has an R9 of 25 and the other an R9 of 90. Under the low one, skin looks slightly grey and lips look muted. The genuinely unhelpful part is that the effect is never dramatic enough for anyone to identify the cause. People just think the picture looks off — and then blame their camera, their face or their make-up.
There is a second number, and for a camera it matters more
TLCI models a camera sensor rather than a human eye. A light can score CRI 97 and still have a narrow spike or hole in its spectrum that reads muddy on a sensor, because sensors are far less forgiving of spikes than eyes are. Industry guidance is that “lights with a TLCI below 85 often require secondary color correction” — which for a self-tape means it arrives wrong and stays wrong.
Look for CRI 95+ and a published R9 of 90 or better. If a light does not publish its R9, treat that number as unknown rather than as fine — and be sceptical of anything claiming “high colour rendition” without a test report behind it.
The two-second fix
Those bars rolling through the picture.
Flicker you cannot see, that the camera can
Your light is switching on and off hundreds of times a second.
What this answers: there are horizontal stripes drifting through my footage and the light looks fine to me.
Two causes, and they stack.
The fixes, in the order to try them
Run the light at full brightness
Then control the exposure another way — move the light further back, or put diffusion in front of it. This alone solves most cases, because it removes the dimming from the equation entirely.
Match your shutter to the grid
1/60s in a 60Hz country, 1/50s in a 50Hz one.Note the trap: the cinematic default of 1/48s will band in a 60Hz region — which is exactly what happens to an actor who has been told to shoot 24fps with a 180-degree shutter.
Lock your exposure
Auto-exposure hunting amplifies flicker rather than smoothing it out.
Test before you shoot
Point your phone camera at the light and pan sideways. If bands appear on the screen, the flicker is there — and you have found it in five seconds instead of after four ruined takes.
The instinct when a light is too bright is to dim it. On a cheap LED, dimming it is exactly what creates the bands. Turn it up to full and move it back instead.
The live disagreement
Is a ring light good enough?
Casting-side and lighting-side sources genuinely conflict here, and the interesting answer is neither yes nor no.
Buy one
All you needCasting director Caroline Liem: the days of space-hogging box lights are gone — “A simple ring light is all you need for a self-tape.” Standing or clip-on. You do not need to spend much.
ControlSummer Selby, via SAG-AFTRA: they are light, they go bright or soft, and they can add or take away warmth — which she frames as an advantage when working across different skin complexions.
It is a beauty tool
FlatA ring surrounds the lens, so light arrives from nearly every angle at once. That removes shadow — and with it the contour that makes a face read three-dimensional. A soft source at 30 to 45 degrees creates a gradient across the face instead.
The catchlightThe circular reflection in the eye reads right for beauty content but “can make portraits feel flat and amateur.” It also reflects badly in glasses, and cheaper rings can shift colour as they warm up over a long take.
The answer is about distance, not quality
A ring light is optimised for the geometry of someone sitting close to the lens, talking to it. That is the vlogging setup. It is the opposite of the self-tape setup. There you are five or six feet back, playing to a reader beside the camera. At that range a small ring is no longer a large enough source to be soft.
So a ring light is the right tool at desk distance and the wrong one at portrait distance. Which reconciles Liem and Selby, who are talking about visibility and control, with the lighting field, which is talking about modelling a face.
Not a decor question
Your backdrop is an exposure decision.
The named sources contradict each other about colour, which is usually a sign that colour is not what they are really arguing about.
On black
Avoid itCaroline Liem: resist black, or you end up a floating head.
AcceptableThe CDG guide lists black among its acceptable options.
On white
FineCaroline Liem has no objection to white.
Not stark whiteArlene Schuster, via SAG-AFTRA: “It’s best if it is not stark white” — you either blend into it, or, with darker skin, get blown out. Actors Access says the same about anything bright directly behind your head.
What almost everyone lands on
Mid-grey or blueSpotlight: plain, preferably grey. Puro Casting: pale walls, grey is a good choice. Liem again: “A blue background makes everyone pop.” Actors Access adds that a solid-coloured curtain beats a blank wall, because the waves in the fabric give a little depth.
Here is what they are actually disagreeing about
A stark white wall behind you drags the camera’s auto-exposure down, which underexposes your face. That is the mechanism behind Schuster’s warning, and it hits darker skin hardest. A black wall behind dark hair and dark clothing gives the camera nothing to separate you from, which is Liem’s floating head. Mid-grey and muted blue get recommended by everyone because they sit near the middle of the exposure range.
So the rule is not a colour. It is this: your background should be a different brightness from you, and closer to mid-grey than to either extreme.
Do you need the diagram?
Three-point lighting, and whether it applies to you.
Tim Powell, a SAG-AFTRA member who hosts the L.A. Conservatory’s Self-Tape Solutions, teaches what he calls the 1-2-3-45 method: three light types — key, fill and backlight — all angled at 45 degrees. Caroline Liem adds that understanding the principles is worth something even if you are buying nothing.
The counterweight comes from the same SAG-AFTRA article: the casting panel in it advises against an elaborate setup. That is a contradiction inside a single piece, which is a fair illustration of how settled this subject is not.
For a chest-up self-tape against a plain wall, the backlight is doing very little. Its job is separating you from the background, and a mid-grey backdrop already does that. What a self-tape actually needs is a key, and something to open the shadows on the other side.
And the second thing does not have to be a light. A white wall, a sheet of foam board or a bedsheet on your shadow side will bounce back enough. That is a two-source setup that costs nothing, and it is a more honest recommendation than a three-point diagram lifted out of a film-school textbook.
If you are going to spend money
Buy in this order.
Nothing
Overhead off. Window or lamp in front of you at eye level. Every mismatched source in the room switched off. The one light you are using turned all the way up.
Diffusion — nothing, to about £15
A white bedsheet, a shower curtain, or baking parchment between a bare lamp and your face. This turns a small hard source into a large soft one, which is what every professional in this chapter is really describing.
A bounce — nothing, to about £10
White foam board, or just a pale wall on your shadow side. This is your fill light, and it does not need a plug.
One decent light — about £40 to £120
Chosen on spec rather than brand: CRI 95+, published R9 of 90 or better, and physically large enough to be soft at the distance you actually stand. Which means a panel or a softbox, not a small ring, if you are standing back.
A second identical light
Only if you are taping weekly and want a result that does not depend on the weather.
Items one to three cost almost nothing, and they address the three failures every source in this chapter names — overhead light, backlight, and mixed colour temperature. No purchase fixes any of those three.
The small ones
Glasses, shine and hair.
Before you take anybody’s advice, including ours
Where the professionals disagree.
Ring light?
YesCaroline Liem: a simple ring light is all you need. Summer Selby: light, controllable, good across complexions.
NoThe lighting field: flat and shadowless, a beauty tool, a catchlight that reads amateur for portrait work, reflections in glasses, and cheap ones shift colour as they warm.
Bright, or soft?
BrightActors Access and Marci Liroff: make sure you are well lit.
SoftBerkofsky, Akinsehinwa and Dierken: over-lighting flattens, and can leave a Black cast barely identifiable. Bigger source, not stronger.
Natural or artificial?
NaturalLiroff, Actors Access, RADA and Puro Casting all say daylight is best.
The catchIt is also the least controllable source you have, and it is unavailable at the hours most working actors can actually tape.
Elaborate setup?
Three-pointTim Powell’s 1-2-3-45 method: key, fill and backlight at 45 degrees.
Don’tThe SAG-AFTRA panel in the very same article advises against an elaborate setup.
Does lighting decide anything?
NoBess Fifer: I do not expect production value.
YesNancy McBride: if it does not look good you may get about three seconds.
Before you press record
The one-minute lighting check.
- The ceiling light is off, and my light is in front of me at eye level.
- There is nothing bright behind my head — no window, no lamp, no white wall catching the sun.
- There is only one kind of light in the room. Daylight or bulbs, not both.
- My source is soft and close, and I am turned slightly toward it rather than facing it square.
- The light is at full brightness, moved back rather than dimmed down.
- I shot ten seconds and played it back, looking for bands, shadow across the eyes, and the colour of my skin.

Clear the bar, then go and act.
Almost everything on this page is free, and almost none of it is about equipment. Turn the ceiling light off, put one soft source in front of you, and then stop — because the light was never the thing they were going to remember.
If you are not sure whether yours is clearing the bar, send us a take and we will tell you.
Get a take looked at