Blog
4 months agoTV-Quality Audio: 5 Pro Sound Hacks for Your Self-Tape in 2026
Casting directors will forgive a slightly grainy image, but they will immediately tune out if they can’t hear you clearly. Discover how to eliminate room echo and choose the right microphone setup to make your home studio sound like a professional soundstage.
By Admin

Conquering the "Room Tone" Enemy in Small Spaces
Working actors in 2026 often obsess over the lens, the lighting, and the performance, yet they frequently allow audio to remain an afterthought. This is a significant professional mistake, as casting directors and producers are trained to forgive minor visual imperfections but will immediately reject a tape if the dialogue is muffled or competing with a distracting room echo. You do not require a specialized, acoustically treated recording booth to achieve TV-quality sound. The first step is addressing your physical environment by eliminating hard surfaces like bare walls, hardwood floors, and windows that cause sound waves to bounce, creating a hollow "bathroom" effect. By laying down a thick rug or hanging heavy "sound blankets" just outside the camera frame, you can effectively absorb these reflections and create a dry, professional recording environment.
The Critical Importance of Off-Camera Microphone Placement
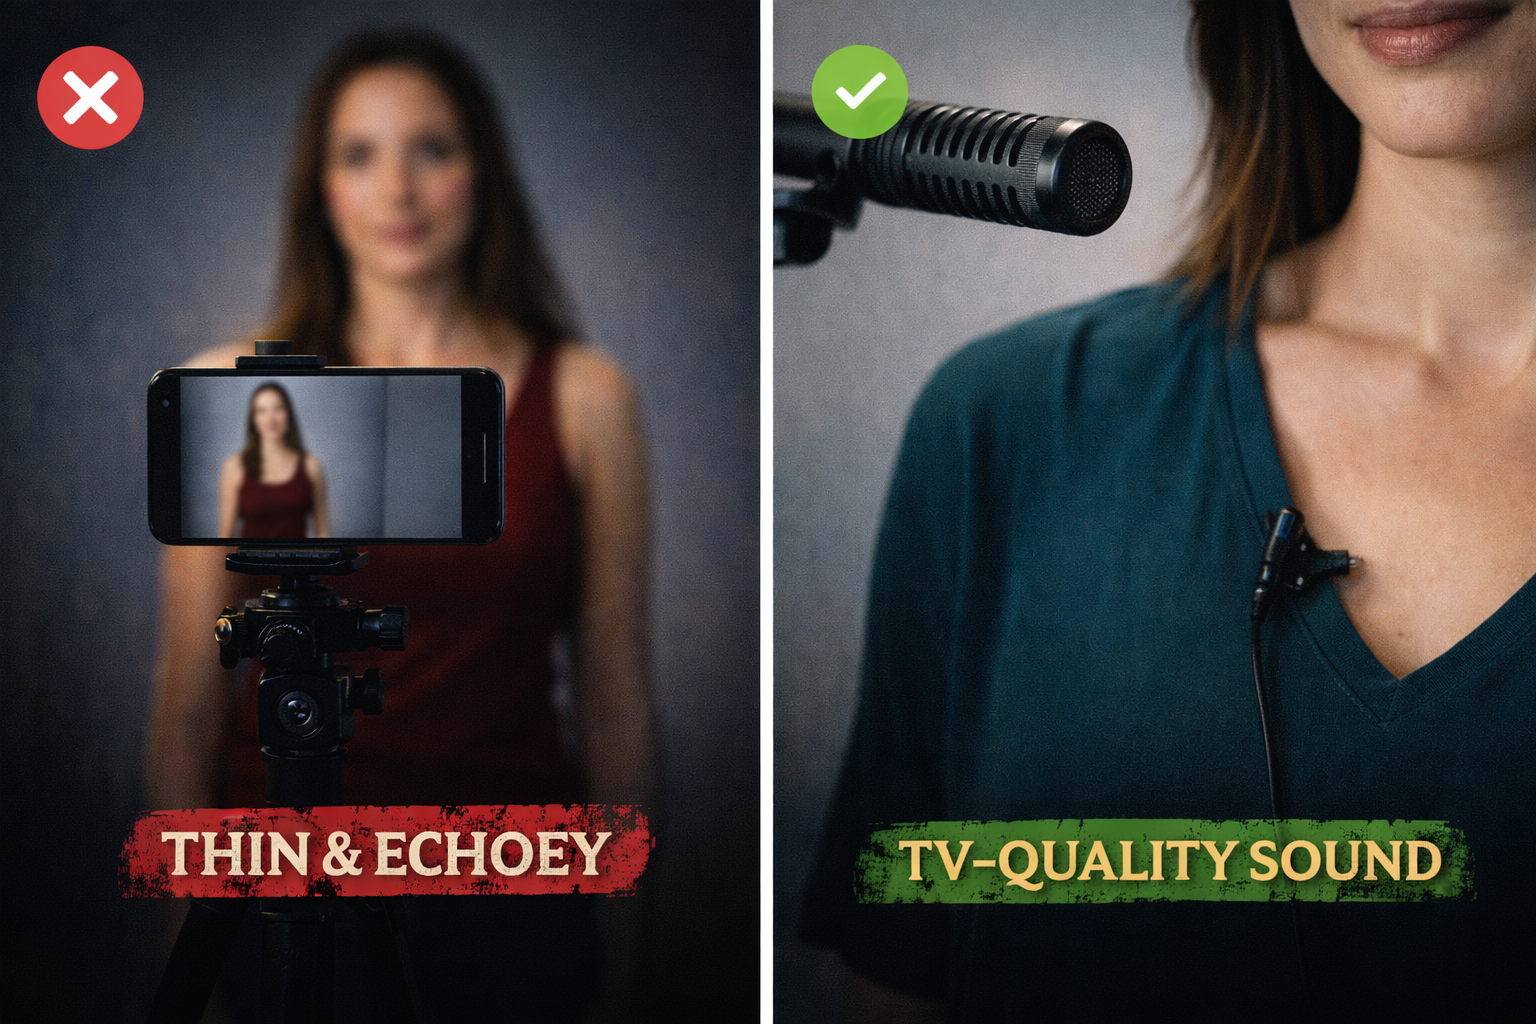
The single most common indicator of an amateur self-tape is relying on the built-in microphone of a smartphone or DSLR from several feet away. These internal microphones are typically "omnidirectional," designed to capture every ambient sound in the room, including distant traffic or a humming refrigerator. To achieve the intimate, crisp dialogue found in modern streaming series, you must position a dedicated microphone as close to your mouth as possible. A high-quality wired or wireless Lavalier microphone clipped to your shirt is a versatile game-changer for most home setups. Alternatively, a Shotgun microphone mounted on a boom pole just above your head—and strictly out of the frame—is the industry standard for capturing the natural resonance of a professional performance.
Managing Reader Volume and Spatial Realism
A frequent technical "red flag" for casting offices is a recording where the reader is booming at 100% volume because they are standing directly next to the microphone, while the actor sounds distant and thin. This imbalance instantly breaks the reality of the scene and distracts the viewer from the performance they are supposed to be evaluating. To fix this, your reader should be positioned slightly behind the camera or to the side, and they must be instructed to speak at a significantly lower volume than you. The objective is to ensure your voice remains the primary focal point of the audio track, mimicking the natural sound perspective of a professional film set.
Monitoring Your Levels and the "Peaking" Rule
Understanding the technical "sweet spot" of digital recording is essential for avoiding distorted files that are impossible to fix in post-production. Most modern recording applications provide visual level meters—moving bars that change from green to yellow to red as you speak. You must avoid the "Red Zone" at all costs, as this indicates "clipping," where the digital signal is overloaded and the audio becomes permanently distorted. Aim for your loudest peaks to hit between the -6dB and -12dB marks. This provides enough "headroom" to ensure you are heard clearly without risking the digital artifacts that signal a lack of technical production knowledge.
Post-Production: The Dangers of Over-Processing
When editing your footage in software like DaVinci Resolve or Final Cut Pro, it is tempting to use aggressive "Noise Reduction" filters to hide background hums. However, these tools should be used with extreme caution. Over-processing your audio track often results in a "robotic" or "underwater" sound that strips the natural character from your voice. Usually, a subtle Gain adjustment to bring the overall volume up to an industry-standard level is all that is required if you have captured high-quality sound at the source. By prioritizing dampening and proximity before you ever hit the record button, you solve 90% of your audio problems and ensure your tape feels like a finished production.
Working actors in 2026 often obsess over the lens, the lighting, and the performance, yet they frequently allow audio to remain an afterthought. This is a significant professional mistake, as casting directors and producers are trained to forgive minor visual imperfections but will immediately reject a tape if the dialogue is muffled or competing with a distracting room echo. You do not require a specialized, acoustically treated recording booth to achieve TV-quality sound. The first step is addressing your physical environment by eliminating hard surfaces like bare walls, hardwood floors, and windows that cause sound waves to bounce, creating a hollow "bathroom" effect. By laying down a thick rug or hanging heavy "sound blankets" just outside the camera frame, you can effectively absorb these reflections and create a dry, professional recording environment.
The Critical Importance of Off-Camera Microphone Placement
The single most common indicator of an amateur self-tape is relying on the built-in microphone of a smartphone or DSLR from several feet away. These internal microphones are typically "omnidirectional," designed to capture every ambient sound in the room, including distant traffic or a humming refrigerator. To achieve the intimate, crisp dialogue found in modern streaming series, you must position a dedicated microphone as close to your mouth as possible. A high-quality wired or wireless Lavalier microphone clipped to your shirt is a versatile game-changer for most home setups. Alternatively, a Shotgun microphone mounted on a boom pole just above your head—and strictly out of the frame—is the industry standard for capturing the natural resonance of a professional performance.
Managing Reader Volume and Spatial Realism
A frequent technical "red flag" for casting offices is a recording where the reader is booming at 100% volume because they are standing directly next to the microphone, while the actor sounds distant and thin. This imbalance instantly breaks the reality of the scene and distracts the viewer from the performance they are supposed to be evaluating. To fix this, your reader should be positioned slightly behind the camera or to the side, and they must be instructed to speak at a significantly lower volume than you. The objective is to ensure your voice remains the primary focal point of the audio track, mimicking the natural sound perspective of a professional film set.
Monitoring Your Levels and the "Peaking" Rule
Understanding the technical "sweet spot" of digital recording is essential for avoiding distorted files that are impossible to fix in post-production. Most modern recording applications provide visual level meters—moving bars that change from green to yellow to red as you speak. You must avoid the "Red Zone" at all costs, as this indicates "clipping," where the digital signal is overloaded and the audio becomes permanently distorted. Aim for your loudest peaks to hit between the -6dB and -12dB marks. This provides enough "headroom" to ensure you are heard clearly without risking the digital artifacts that signal a lack of technical production knowledge.
Post-Production: The Dangers of Over-Processing
When editing your footage in software like DaVinci Resolve or Final Cut Pro, it is tempting to use aggressive "Noise Reduction" filters to hide background hums. However, these tools should be used with extreme caution. Over-processing your audio track often results in a "robotic" or "underwater" sound that strips the natural character from your voice. Usually, a subtle Gain adjustment to bring the overall volume up to an industry-standard level is all that is required if you have captured high-quality sound at the source. By prioritizing dampening and proximity before you ever hit the record button, you solve 90% of your audio problems and ensure your tape feels like a finished production.