How to Light a Commercial Self-Tape Clearly
Light a commercial self-tape for clear eyes, natural skin tone and consistent energy, using a repeatable setup that supports the product and performance.
By Sal Framondi
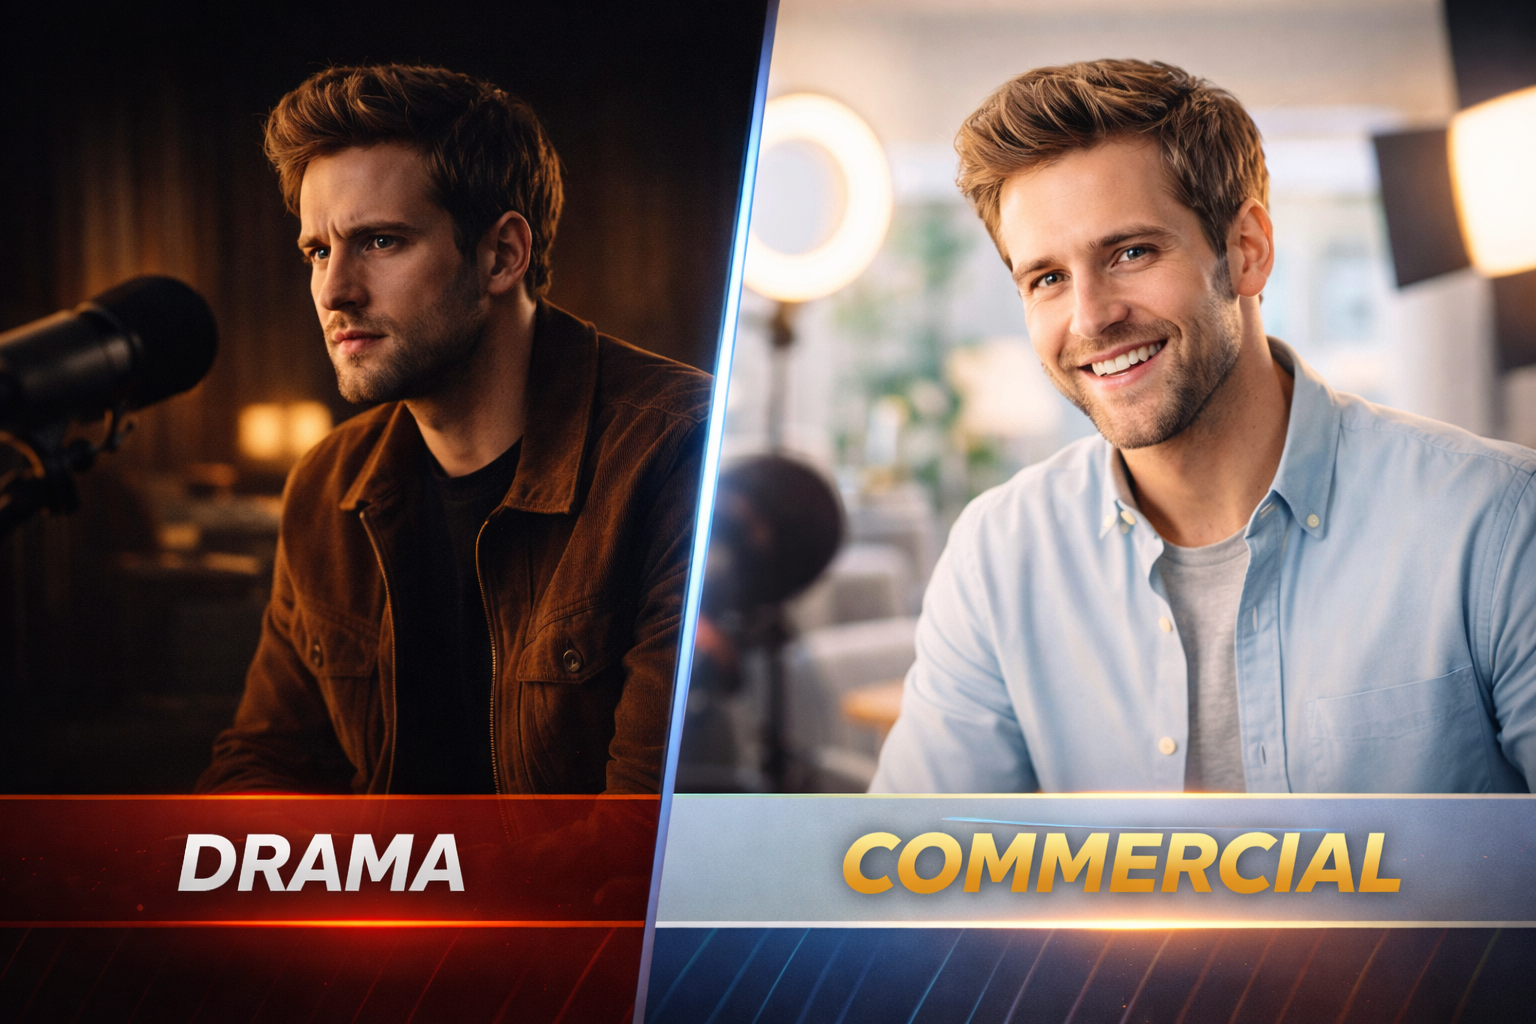
Commercial self-tape lighting should make your face, eyes and expression easy to read from the first frame. Use clean, consistent light that fits the requested tone without turning the tape into a product shoot.
The practical goal is continuity: the image should stay stable while you move, handle a prop or shift your eyeline.
Read the commercial instructions first
Check the requested frame, orientation, background, wardrobe, actions and product handling before placing lights. A wide movement demonstration needs a larger evenly lit area than a close conversational scene.
If the request includes a visual reference, identify what is actually required rather than copying every stylistic detail. Follow the current instructions when they conflict with a general setup.
Plan enough room for the full action. Lighting only the starting mark can leave the face dark when the performance moves.
Build around clear facial information
Place the main source so both eyes remain readable and skin tone looks natural. A source slightly above eye level and off to one side can give shape while keeping the expression clear.
Move the source closer for softer light when it is safe and stays outside the frame. If one side of the face becomes too dark for the tone, use a white wall, board or another controlled source to return some light.
The Academy lighting guide covers the fundamentals. This article applies them to commercial action and continuity.
Control mixed color
Window light and household bulbs may produce different colors on the face. Turn off conflicting sources when possible, close a curtain or rely on one controllable lighting family.
Check skin tone on the recorded file, not only in the camera preview. Automatic camera adjustments can shift color when a bright product or wardrobe item enters the frame.
Avoid trying to correct a strong mixed-light problem with a filter after recording. Simplifying the sources is usually more predictable.
Keep exposure stable during movement
Practice the complete action while watching the frame. Notice whether stepping forward makes the face too bright, turning toward a window changes exposure or lifting a pale object causes the camera to darken the image.
Lock exposure and focus when your device and recording method allow it and when you understand the control. Otherwise, simplify the action area and background so automatic changes are less likely.
Mark the usable movement zone on the floor. The actor should be able to perform freely within it without leaving the light or focus.
Light the product without losing the actor
If a product or substitute appears, test its surface. Glossy packaging can reflect the source, while a dark label can disappear when tilted away from light.
Adjust the object angle before adding another lamp. The product should be visible when required, but the actor’s face remains the main source of communication.
Do not hold an object closer to the lens merely to make it larger unless the instructions request that action. A sudden move can block the face, change focus or distort proportions.
Choose a background that supports the tone
A clean neutral background is dependable when no environment is requested. Separate the actor from it enough to reduce hard shadows, and remove objects that compete with the face or product.
A brighter commercial tone does not require an overexposed background. Preserve detail and make sure light clothing does not disappear into the wall.
If a home setting is requested, show only enough environment to establish it. Keep practical lamps and windows from becoming distracting bright areas.
Test wardrobe in the final light
Record each likely wardrobe option against the background. Small patterns can distract, white fabric can lose detail and reflective accessories can create flashes during movement.
Choose clothing that fits the role and instructions rather than trying to manufacture a general commercial look. Check that skin tone stays natural beside the wardrobe color.
Glasses need a movement test. Raise or shift the source slightly if reflections cover the eyes, while keeping the face evenly readable.
Plan the opening frame
Be ready before recording begins. Hold the starting position, settle the eyeline and remove any equipment adjustment from the submitted clip.
The opening should immediately show the requested frame and a technically stable image. Do not add an artificial burst of energy because of a claimed time rule; begin the action truthfully and without avoidable delay.
If a slate is requested, follow its placement instructions. The Slate Maker can help when you need to prepare a clearly labeled slate file.
Review for continuity
Watch the take without sound and track exposure, focus, eye visibility, prop angle and background distractions. Then listen normally and judge the complete performance.
Compare selected takes for lighting continuity. If one take begins at a different time of day or after a lamp moved, decide whether the change is distracting before submitting.
Save a lighting map
Once the setup works, photograph it from outside the frame and mark the actor, camera and light positions. Note which room lights and curtains were used so you can rebuild the same conditions.
Repeat the test when the time of day changes. A saved map is a starting point, not a reason to skip checking skin tone and exposure on the current recording.
Commercial lighting checklist
Confirm the requested frame and action; light the complete movement zone; keep both eyes readable; remove mixed color; test exposure with props; check wardrobe and glasses; simplify the background; and review the exported file.
Clear commercial lighting is controlled rather than flashy. Build a stable area where expression, action and product handling can all be understood.