How to Set Up a Small Space for Self-Tape Auditions
Turn a small room into a repeatable self-tape set by controlling the frame, background, light, sound and storage without taking over your home.
By Sal Framondi
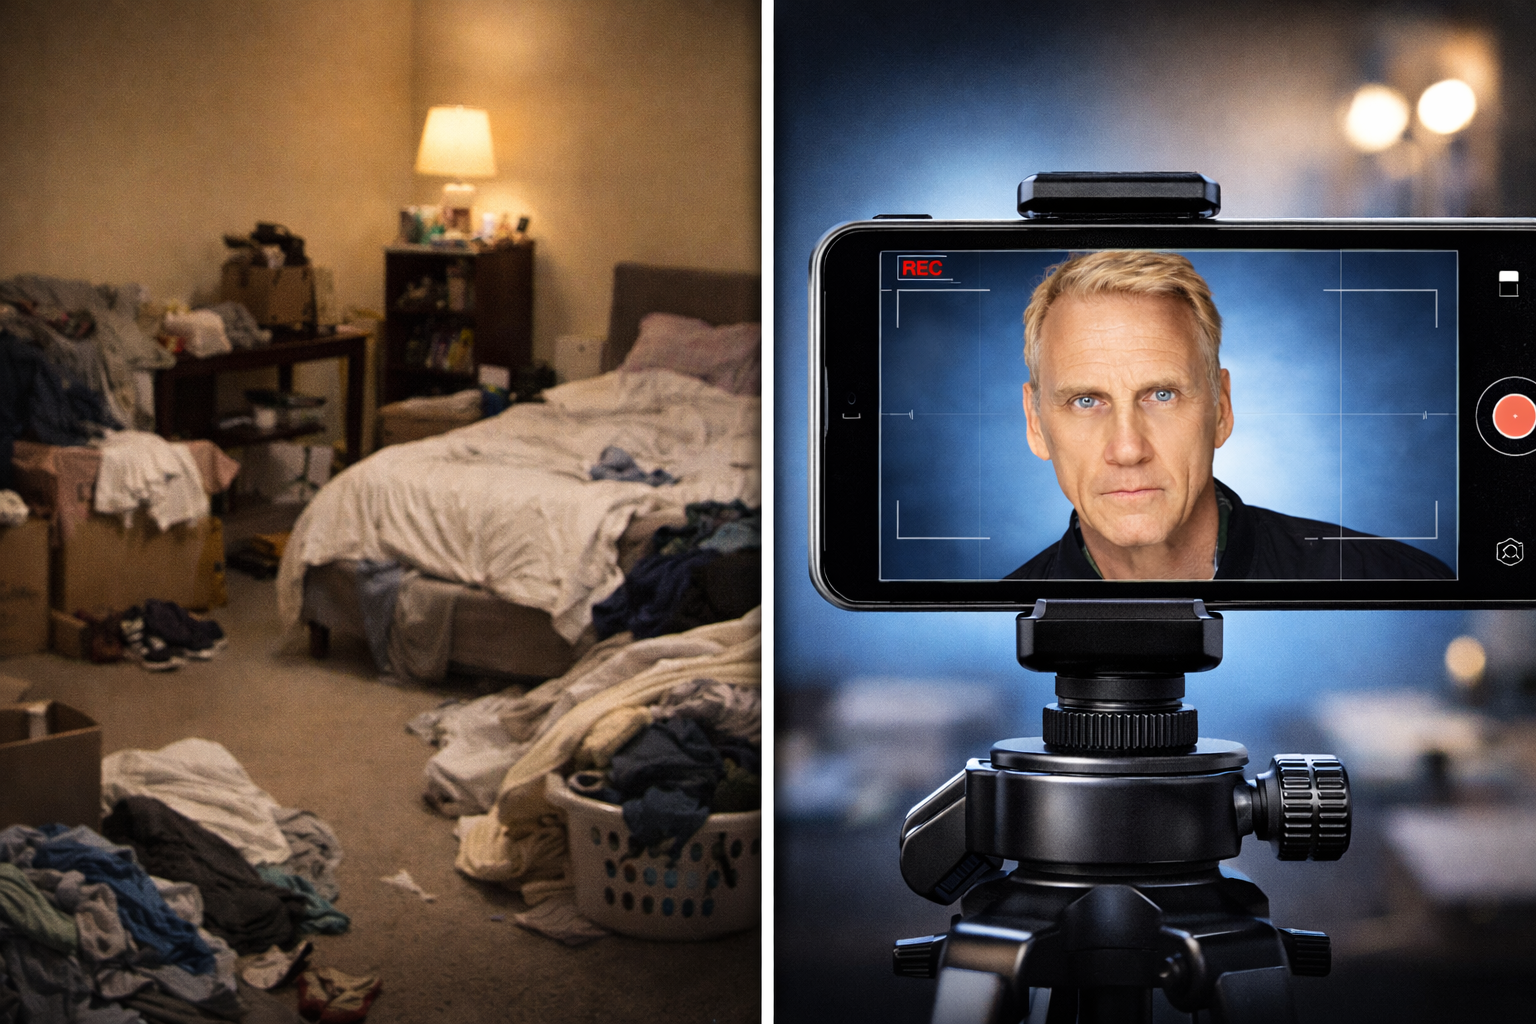
A small apartment can support a clear, professional self-tape when you control only what the camera and microphone capture. Choose one workable angle, create enough depth for the requested frame and make the setup quick to assemble and remove.
The goal is not to make the room look like a studio. It is to build a repeatable recording zone that keeps attention on the performance.
Start with the camera’s rectangle
Open the camera and test possible angles before moving furniture. A room that feels crowded in person may offer a clean frame when the lens faces a plain section of wall.
Check the widest framing you commonly need. Make sure the camera can move back far enough without entering a doorway or unsafe walkway. If space is limited, place the camera near one wall and perform toward the opposite wall to use the room’s longest dimension.
Remove only objects visible in the final frame. Temporary off-camera clutter does not affect the tape, but keep stands, cables and moved furniture from creating a trip hazard.
Choose a background you can repeat
A plain wall or flat door may work without additional equipment. Look for a surface that separates your hair and clothing from the background and does not contain bright fixtures, mirrors or distracting lines.
If the wall is unusable, hang a simple fabric backdrop securely. Pull it taut, check that its edges stay outside the frame and avoid a setup that can fall when you move. Steam or smooth major folds when they remain visible on camera.
Mark the usable camera angle with a reference photo. In a multipurpose room, that image makes rebuilding the same frame faster.
Create as much depth as the room allows
Move away from the background when possible. Even a modest gap can soften the shadow behind you and make the frame feel less flat.
If you cannot move farther forward, increase the distance between the background and its light source, adjust the light angle or choose a lighter movement range. Do not force depth by using an extreme lens setting that changes facial proportions.
Test your full acting movement before recording. A small mark on the floor can help you stay in the area where the face remains lit and the background remains covered.
Use compact camera support
A narrow tripod or stable clamp can take less floor area than a large stand. Whatever you use, secure the device at a suitable height and verify that it cannot slide, tip or vibrate.
Keep the reader close to the camera without blocking the lens or light. Mark a reader position on each side if you regularly need different eyelines.
For framing and device placement, use the self-tape camera guide. The small-space decision is about fitting a stable version of those fundamentals into your room.
Control light rather than adding more
Start by turning off sources that create conflicting color or strong overhead shadows. Test a window when daylight is dependable, or use a compact artificial source when you need the setup at different times.
Place the light where both eyes are readable and your skin tone looks natural. In a tight room, watch for the stand entering the frame, reflections in glasses and bright spill on the background.
Do not crowd the acting mark with several lights unless each solves a visible problem. The lighting guide covers detailed placement.
Soften sound with what is already there
Small rooms can sound controlled when they contain curtains, upholstered furniture, rugs or bedding. They can also sound boxy when parallel hard surfaces reflect the voice.
Record a short test from the acting mark. Move a blanket, cushion or clothing rack outside the frame near the strongest reflection, then compare the recording. Treat the sound you hear rather than covering every surface.
Turn off avoidable fans and appliances during takes. Let other people in the home know the short recording window, and plan around recurring street or building noise when possible.
Build a setup that stores quickly
Choose equipment based partly on where it will live. A backdrop that works beautifully but cannot be stored may stop being useful in a shared room.
Keep clips, tape, charging cables and adapters in one container. Mark stand heights and backdrop attachment points. Fold fabric consistently so setup becomes a sequence rather than a new design each time.
Take one photograph showing the room from outside the camera frame. Include light, reader, actor and camera positions. That reference is more useful than relying on memory after the furniture has moved.
Protect the room’s normal use
Do not block exits, overload temporary hooks or leave cables where someone can trip. Use attachment methods suitable for the wall or door and remove them according to the manufacturer’s instructions.
If you share the space, agree on where equipment is stored and how long a setup can remain assembled. A sustainable arrangement is easier to use under a deadline.
Small-space setup checklist
Choose the longest clean camera angle; test the required frame; simplify the visible background; mark actor, reader and camera positions; stabilize the device; light both eyes; record a sound test; remove hazards; and save a reference photo.
Then perform a full test scene. Watch for framing limits when you lean or gesture, and listen for room noise that was not obvious while recording.
Keep the corner practical
A small room does not need to resemble a permanent set. Control the rectangle, make the equipment safe and build a setup you can reproduce without exhausting your preparation time.