Blog
2 months agoSelf-Tape Audition Checklist: 12 Things to Do Before You Hit Record
One missed technical detail can cost you the role before you say a single word. This 12-point checklist is the exact system professional actors run before every self-tape — in order, every time.
By Admin

One missed step can cost you the role. Not your performance — one technical detail you forgot in the rush to submit.
Casting directors see thousands of tapes. They are not forgiving of the basics. Bad audio. Wrong framing. A shadow on your face. These things signal amateur before you say a single word.
This checklist fixes that. Twelve things. Do them in order before every single self-tape. Every time.
The 12-Point Self-Tape Checklist
1. Read the Breakdown Twice
Before you touch your camera, read the casting breakdown twice. Know the tone. Know what they are looking for. Know whether this is comedy, drama, or commercial. Everything else follows from this.
2. Analyze the Script
Do not just memorize the words. Know the subtext. Know what your character wants. Know what they are hiding. A fast script breakdown is not cutting corners — it is working smart.
3. Set Up Your Background
Use a seamless paper backdrop or a clean, neutral wall. No clutter. No patterns. No distractions behind you. If casting is looking at your background they are not looking at you.
4. Check Your Framing
Medium close-up. Top of head to mid-chest. Eyes in the upper third of the frame. Phone or camera at eye level — never below. Shoot horizontal for all theatrical and TV auditions.
5. Fix Your Lighting
Face your light source. Ring light or window — never behind you. One finger of shadow under your chin is correct. A shadow across your face is not. Check this on your screen before you record.
6. Test Your Audio
Record thirty seconds. Put on headphones. Listen. Can you hear yourself clearly? Is there hum, echo, or room noise? Fix it before you start. Casting directors will not adjust their volume for you.
7. Silence the Room
Turn off the AC. Close the windows. Put your phone on do not disturb. Tell everyone in the house you are recording. One notification sound or door slam can kill an otherwise perfect take.
8. Set Up Your Teleprompter
If you are not completely off-book — and most actors are not with a same-day turnaround — set up a teleprompter. Not a printed page. Not a phone propped against a wall. A proper scrolling teleprompter at eye level.
When your eyes drop to find your line, the take is over.
9. Run a Full Tech Check
Record thirty seconds of yourself doing the scene. Watch it back. Check everything. Framing, light, audio, background. Fix what needs fixing before your real takes begin.
10. Warm Up Your Instrument
Do not go straight from checking your camera to performing. Spend five minutes on voice, body, and breath. The difference between a cold take and a warm one is visible on camera.
11. Do a Reader Run-Through
Run the scene with your reader before you record. Not a performance — a tech run. Make sure their audio is clean if they are remote. Make sure the pacing feels real. Then record.
12. Label and Submit Correctly
Name your file: LastName_FirstName_RoleName. Convert to .mp4 if required. Check the submission portal's file size limit before you upload. The best tape in the world does not book a role if it never arrives.
The Mistake Most Actors Make
They skip the checklist when time is short. That is exactly backwards. The faster the turnaround, the more you need the checklist. Pressure creates mistakes. The checklist prevents them.
Make the Checklist Automatic
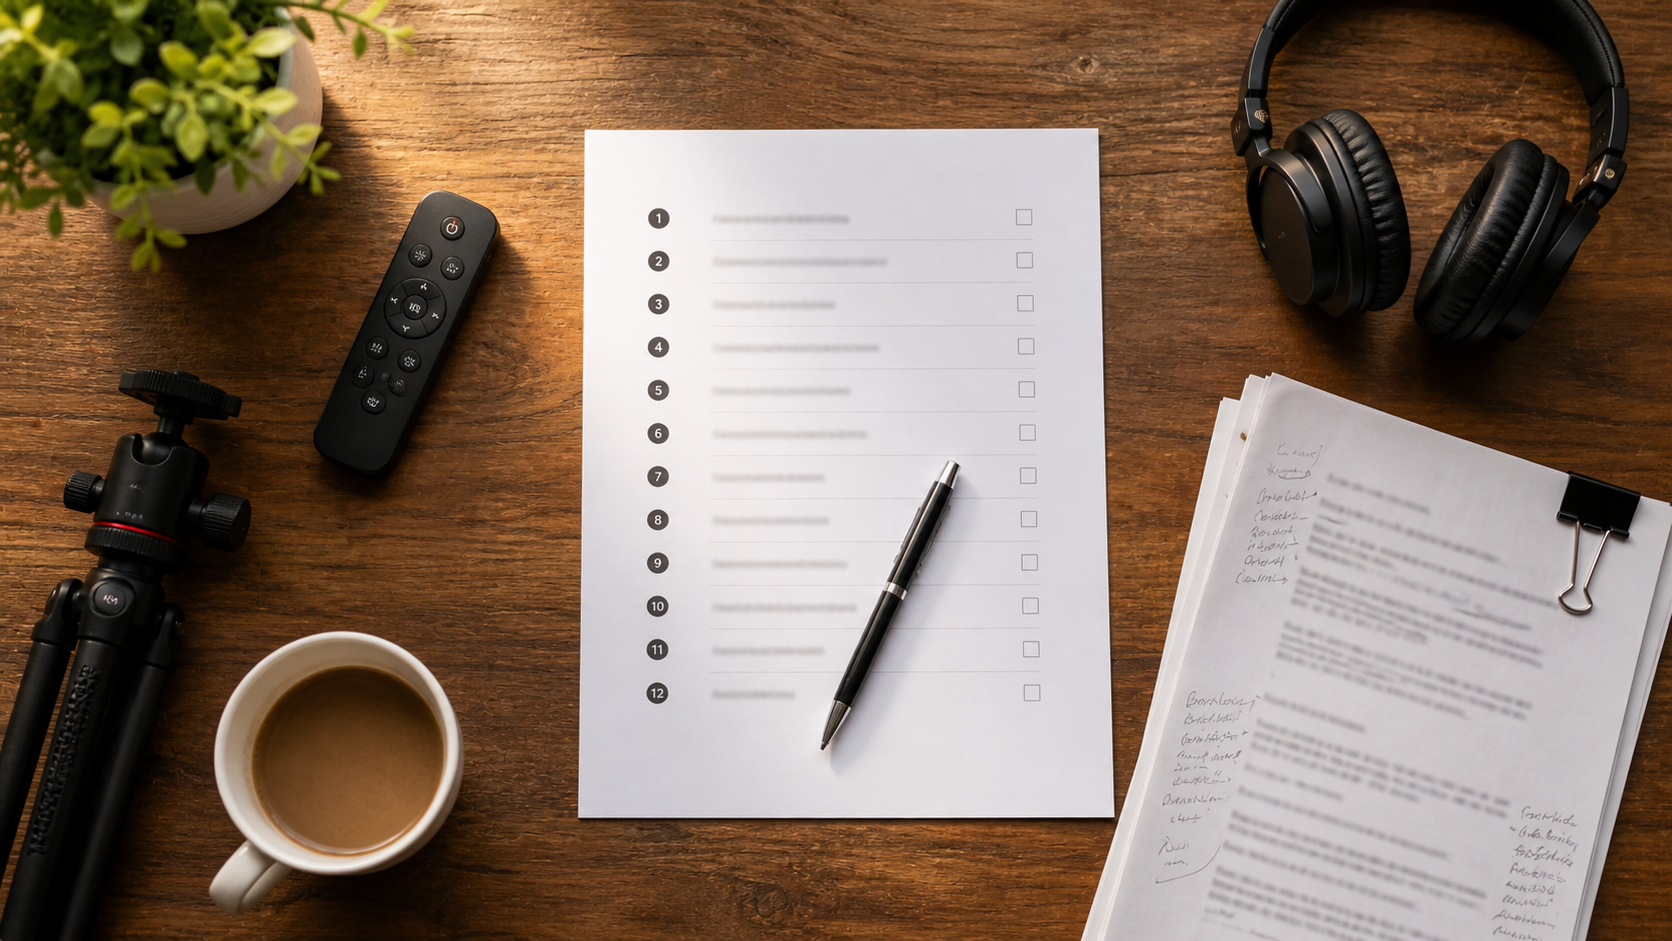
Print this list and tape it next to your self-tape setup. Run it before every take. Within a week it becomes muscle memory. Within a month it becomes the reason your tapes look more professional than everyone else's.
HowToSelfTape.com has the tools to check off every item on this list — teleprompter, script analyzer, reader, and expert feedback. Start your free 7-day trial today and never miss a step again.
Casting directors see thousands of tapes. They are not forgiving of the basics. Bad audio. Wrong framing. A shadow on your face. These things signal amateur before you say a single word.
This checklist fixes that. Twelve things. Do them in order before every single self-tape. Every time.
The 12-Point Self-Tape Checklist
1. Read the Breakdown Twice
Before you touch your camera, read the casting breakdown twice. Know the tone. Know what they are looking for. Know whether this is comedy, drama, or commercial. Everything else follows from this.
2. Analyze the Script
Do not just memorize the words. Know the subtext. Know what your character wants. Know what they are hiding. A fast script breakdown is not cutting corners — it is working smart.
3. Set Up Your Background
Use a seamless paper backdrop or a clean, neutral wall. No clutter. No patterns. No distractions behind you. If casting is looking at your background they are not looking at you.
4. Check Your Framing
Medium close-up. Top of head to mid-chest. Eyes in the upper third of the frame. Phone or camera at eye level — never below. Shoot horizontal for all theatrical and TV auditions.
5. Fix Your Lighting
Face your light source. Ring light or window — never behind you. One finger of shadow under your chin is correct. A shadow across your face is not. Check this on your screen before you record.
6. Test Your Audio
Record thirty seconds. Put on headphones. Listen. Can you hear yourself clearly? Is there hum, echo, or room noise? Fix it before you start. Casting directors will not adjust their volume for you.
7. Silence the Room
Turn off the AC. Close the windows. Put your phone on do not disturb. Tell everyone in the house you are recording. One notification sound or door slam can kill an otherwise perfect take.
8. Set Up Your Teleprompter
If you are not completely off-book — and most actors are not with a same-day turnaround — set up a teleprompter. Not a printed page. Not a phone propped against a wall. A proper scrolling teleprompter at eye level.
When your eyes drop to find your line, the take is over.
9. Run a Full Tech Check
Record thirty seconds of yourself doing the scene. Watch it back. Check everything. Framing, light, audio, background. Fix what needs fixing before your real takes begin.
10. Warm Up Your Instrument
Do not go straight from checking your camera to performing. Spend five minutes on voice, body, and breath. The difference between a cold take and a warm one is visible on camera.
11. Do a Reader Run-Through
Run the scene with your reader before you record. Not a performance — a tech run. Make sure their audio is clean if they are remote. Make sure the pacing feels real. Then record.
12. Label and Submit Correctly
Name your file: LastName_FirstName_RoleName. Convert to .mp4 if required. Check the submission portal's file size limit before you upload. The best tape in the world does not book a role if it never arrives.
The Mistake Most Actors Make
They skip the checklist when time is short. That is exactly backwards. The faster the turnaround, the more you need the checklist. Pressure creates mistakes. The checklist prevents them.
Make the Checklist Automatic
Print this list and tape it next to your self-tape setup. Run it before every take. Within a week it becomes muscle memory. Within a month it becomes the reason your tapes look more professional than everyone else's.
HowToSelfTape.com has the tools to check off every item on this list — teleprompter, script analyzer, reader, and expert feedback. Start your free 7-day trial today and never miss a step again.