How to Self-Tape in a Hotel Room in 2026
A hotel room is not an obstacle to a professional self-tape. Here is the complete system for recording anywhere you are staying.
By Sal Framondi
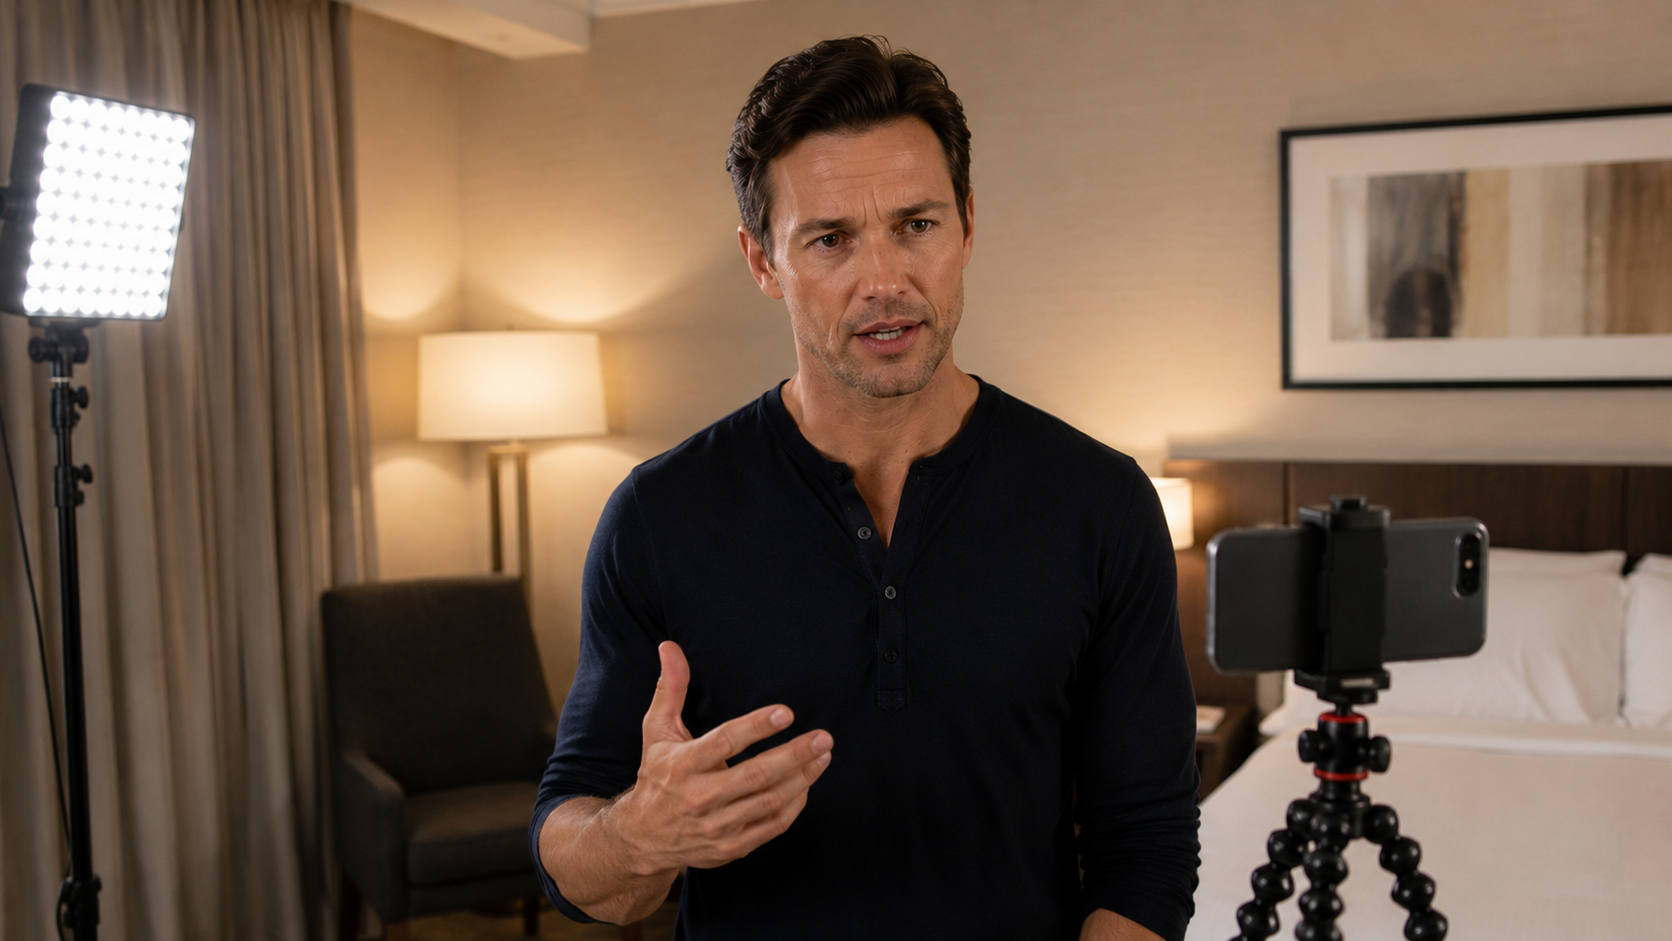
The nature of a working actor's life in 2026 is increasingly mobile. You are on location for a short film. You are visiting family in another city. You are doing a regional theatre run three states away from your home setup. You are on a job that has nothing to do with acting and your sides just arrived with a twelve-hour turnaround. The breakdown does not know you are in a Hampton Inn in Albuquerque. The casting director does not know and does not need to know. What they need is a clean, professional self-tape submitted on time — and a hotel room, handled correctly, is entirely capable of producing one.
The actors who struggle with hotel room self-tapes are almost always the ones who are trying to replicate their home setup in an environment that will not cooperate. The wrong approach is to look at a hotel room and see everything that is missing — the familiar backdrop, the positioned light, the quiet corner, the controlled environment. The right approach is to look at a hotel room and see a set of raw materials that can be configured into a professional recording space within thirty minutes if you know what you are doing. This is the complete system for doing exactly that.
What to Bring — The Hotel Self-Tape Kit
The most important decision you make about hotel room self-taping happens before you leave home. A small, purpose-built travel kit eliminates the majority of hotel room self-tape problems before they arrive. The kit does not need to be large, expensive, or heavy. It needs to be complete.
Your phone is your camera. In 2026 any current generation iPhone or Android flagship records at a quality that is entirely acceptable for self-tape submissions and in many cases indistinguishable from dedicated camera footage at the sizes casting directors are viewing. What your phone needs in a hotel room is a stable mount. A small, lightweight flexible tripod — the kind that folds flat and fits in a jacket pocket — is the single most important item in your hotel self-tape kit. Hotel rooms have no dedicated mounting surfaces at the correct height and angle. Without a tripod you are balancing your phone on a stack of books that may or may not hold position through multiple takes. With a flexible tripod you have a stable, adjustable mount that works on any surface in any configuration.
Your second essential item is a small portable LED light. Battery-powered LED panels no larger than a paperback book are widely available, inexpensive, and capable of producing clean, consistent key light in an environment where the existing lighting is almost always unusable for self-tape purposes. Hotel room lighting is designed for ambiance, not for camera work. Overhead fixtures produce unflattering downward shadows. Bedside lamps produce warm inconsistent pools of light. A small portable LED positioned correctly eliminates both problems. If you do not own one and are not willing to travel with one, the next section covers how to work with what a hotel room provides — but the LED is worth the investment and the bag space.
Your third essential item is a lavalier microphone or a small shotgun mic that connects directly to your phone. Hotel rooms are acoustically difficult environments. Hard floors, large mirrors, and minimal soft furnishings create echo and reverb that an on-device microphone will pick up and a casting director will notice immediately. An inexpensive wired lavalier — the kind that plugs directly into your phone's headphone jack or USB-C port — costs less than twenty dollars and eliminates the echo problem more effectively than any room arrangement you can achieve with hotel furnishings.
Finding Your Background
The background is the element of a hotel room self-tape that causes the most anxiety and requires the least. You do not need a photography backdrop in a hotel room. You need a section of wall that is plain, neutral, and uncluttered. Almost every hotel room has one. The area above and behind the desk is frequently the cleanest wall in the room — no artwork, no mirror, no window. The wall beside the bathroom door is often equally clean. Walk the room when you arrive and identify your background before you do anything else. Once you have found it, position your flexible tripod and phone at the correct distance and height, confirm your framing in the camera app, and your background problem is solved.
If the room genuinely has no clean wall — which is rare but possible in older or heavily decorated properties — you have two options. The first is to hang a neutral-colored shirt, a light bedsheet, or any large piece of plain fabric behind you using the existing furniture or the back of a door as a mounting surface. The second is to position yourself far enough from any wall that the background blurs into an indistinct neutral tone in your camera's depth of field. At a distance of six to eight feet between you and the wall, a phone camera shooting at portrait depth will soften most background detail to the point where it is no longer a distraction.
Managing Hotel Room Lighting Without a Kit
If you are working without a portable LED, you are working with what the hotel provides — and hotel room lighting requires more active management than any other element of the hotel self-tape setup. The goal is a single, consistent, reasonably soft light source positioned in front of you and slightly to one side. Hotel rooms occasionally provide this accidentally through a well-positioned desk lamp with a white or neutral shade. More often they do not, and you have to create it.
The most reliable natural light source in a hotel room is a window, and the most reliable way to use it is to position yourself facing it directly with the window as your key light source. This works well in daylight hours when the sky is overcast — overcast daylight through a window is a large, soft, even light source that produces clean skin tones and catches light in the eyes. Direct sunlight through a window is harder to work with — it is intense, directional, and changes rapidly as the sun moves. If you are recording in direct sunlight, use the sheer curtain layer to diffuse it. If no sheer curtain is available, position yourself at an angle to the window rather than directly facing it and use a white wall or a white sheet of paper as a bounce reflector on the opposite side of your face to fill the shadow.
After dark without a portable LED, hotel room self-taping becomes significantly more difficult but not impossible. The most workable solution is to cluster every available lamp in the room on one side of your recording position, remove the lampshades from any that will allow it to increase output, and use that cluster as an improvised key light. The color temperature will likely be warm — most hotel lamps use incandescent or warm LED bulbs — and your camera's white balance setting will need to be adjusted manually to compensate. In most phone camera apps this is done by tapping the screen to set focus and then adjusting the exposure slider, or by accessing the white balance setting directly in a manual or pro camera mode.
Managing Hotel Room Audio
Echo is the primary audio challenge in a hotel room, and it has a straightforward solution. Soft materials absorb sound. The softer material you can position between your recording location and the hard surfaces of the room, the cleaner your audio will be. Before you record, pull the duvet and any extra blankets from the bed and position them on the hard surfaces closest to your recording location — draped over chairs, hung over the back of the desk, positioned on the floor between you and the bathroom door if that wall is close. It takes three minutes and the difference in audio quality is audible and significant.
If your recording location puts you close to a large mirror — which many hotel rooms will — cover it. A duvet draped over a mirror eliminates one of the most reflective surfaces in the room and makes a measurable difference to your recorded audio. Combine the blanket treatment with your lavalier microphone if you have one and you have a hotel room audio setup that will produce clean, professional-quality sound on camera.
The Shooting Protocol
Once your space is configured — background identified, phone mounted, lighting positioned, audio addressed — your shooting protocol in a hotel room is identical to your protocol at home. Confirm your framing. Run a ten-second audio and video test and watch it back on headphones. Check your eyeline placement. Confirm that nothing in the background is moving, lit unusually, or drawing attention away from your face. Then record.
The one adjustment worth making in a hotel room is to record more takes than you would at home. The hotel environment has more variables than your home setup — a door in the corridor, the HVAC cycling on and off, light shifting through the window — and the probability of an environmental interruption landing in a take is higher. Recording more takes gives you more options in the edit and reduces the pressure on any single take to be perfect. Hotel room self-taping rewards a relaxed, iterative approach. Take your time, take your takes, and choose the best one when you are done.
The Professional Standard Has Not Changed — Only the Location Has
A casting director watching your hotel room self-tape does not know it was recorded in a hotel room. They do not see the room. They see the frame — your face, your background, your lighting, your performance. The professional standard they are applying to your tape is the same standard they apply to every tape regardless of where it was recorded. The hotel room is not an excuse, and it does not need to be one. With the right kit, the right configuration, and the right approach to the specific challenges the environment presents, a hotel room produces a tape that is indistinguishable from one recorded in a purpose-built home studio. That is the goal. That is what this system is designed to achieve.