How to Record a Self-Tape Audition in 2026
First time recording a self-tape audition? Here is the complete technical walkthrough from setup to submit that gets you booking in 2026.
By Sal Framondi
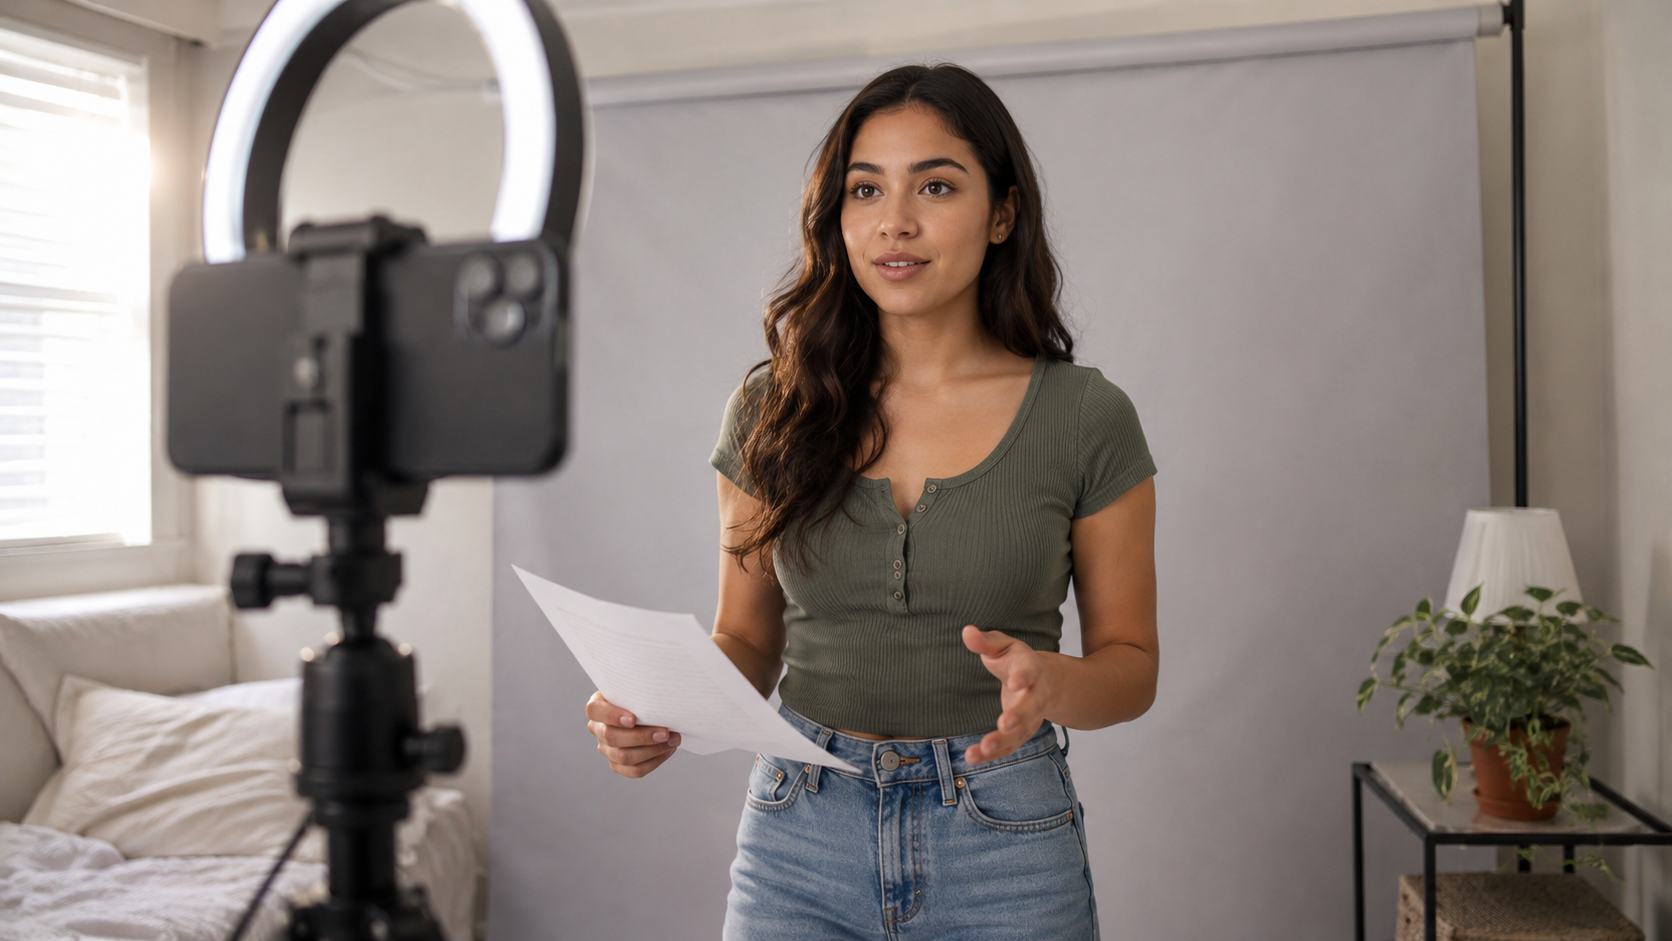
Every working actor recording self-tapes today was once standing exactly where you are right now — in a room with a phone, a script, and no clear idea of what a professional audition actually looks like. The self-tape audition has become the dominant format in casting across every market in 2026. It is no longer a temporary workaround or a second-best option. It is the primary way actors get in the room. Casting directors for television, film, commercials, and independent projects receive the majority of their first-round submissions as self-tapes. That means the technical quality of your recording is no longer a secondary consideration. It is the first impression you make — and in most cases it is the only impression you get.
This is the complete walkthrough. Every step. Every decision. From the moment you receive the audition notice to the moment you hit submit.
Step One — Read the Brief Before You Touch Your Camera
The most common mistake first-time self-tapers make is picking up their phone before they fully understand what the casting director is asking for. Before you set up a single light or adjust a single setting — read the audition brief completely. The brief contains critical technical information that should determine every choice you make about your setup. It will specify whether the audition requires a medium close-up or a wider shot. It may specify background requirements — some casting directors want a plain white backdrop while others permit a natural home environment. It will specify the deadline — which determines how much preparation time you have. It will specify whether one take or two takes are expected. It will specify the format for your file submission. Reading the brief first saves you from recording a technically perfect audition in the wrong format.
Step Two — Choose Your Recording Device
In 2026 your smartphone is a professional recording device. The camera in a current generation iPhone or Android flagship records in 4K at framerates that exceed what most network television productions shot on a decade ago. You do not need a DSLR. You do not need a mirrorless camera. You do not need any camera beyond the one already in your pocket — provided you know how to use it correctly. Set your camera app to record at 1080p at 24 frames per second. This is the standard that casting portals expect and the format that uploads cleanly to every major submission platform. Record horizontally — landscape orientation — always. Vertical video is appropriate for social media content. It is never appropriate for a professional audition submission. Mount your phone on a tripod at eye level. A phone lying against a stack of books is not a tripod. A wobbling setup signals amateur before your performance begins. A stable eye-level mount is the baseline requirement of a professional self-tape.
Step Three — Set Up Your Lighting
Lighting is the single most important technical variable in a self-tape audition. A mediocre performance in excellent light will be watched longer than an excellent performance in poor light. This is not a creative judgment — it is a cognitive one. Casting directors have watched thousands of self-tapes and their eyes have been trained to associate certain lighting conditions with professionalism and others with amateurism. The moment poor lighting registers — consciously or not — their evaluation of your performance is already compromised.
The simplest and most effective lighting setup for a first-time self-taper is a ring light positioned directly behind your camera at eye level. A ring light produces the even, frontal illumination that eliminates unflattering shadows on your face and creates the clean professional look that commercial and theatrical casting both expect. Set the color temperature between 5000K and 5500K for natural daylight skin tones. Avoid the warm yellow setting — it reads as unprofessional on camera. If you do not own a ring light — position yourself facing a large window with natural north-facing daylight. Never position a window behind you. A window behind you makes you a silhouette. A window facing you makes you a professional.
Step Four — Set Up Your Background
Your background communicates your level of preparation before you say a word. A cluttered, busy, or personal background pulls focus from your performance and signals that you did not prepare carefully for the submission. The casting director's attention goes to whatever is most visually interesting in the frame — and if your background is more visually interesting than your face, you have already lost. The simplest background solution for a first-time self-taper is a plain wall in a neutral color — white, light grey, or beige. If you do not have access to a suitable plain wall — hang a plain bedsheet or a purpose-built backdrop cloth. These are available for under twenty dollars and they transform any room into a professional recording space. Position yourself at least three feet in front of your background. This distance creates a clean separation between you and the wall and eliminates the shadow that forms when you stand too close to a flat surface.
Step Five — Frame Your Shot
The standard framing for a self-tape audition is a medium close-up. This means your frame should cut approximately at your chest or just below your shoulders. Your eyes should sit in the upper third of the frame — not the center. There should be approximately two fingers of space between the top of your head and the top of the frame. This is called headroom — and getting it right is one of the simplest signals of technical competence that casting directors notice immediately. Position your camera at eye level — not below your face looking up and not above your face looking down. Eye level creates an equal relationship between you and the viewer. Looking up into the camera creates an unflattering angle and a power imbalance that works against you in the audition context.
Step Six — Record and Check Your Audio
Casting directors will forgive imperfect lighting before they will forgive inaudible audio. If they cannot hear you clearly — your performance does not exist. Record a thirty-second test clip before your actual audition and play it back through headphones — not through your phone speaker. Phone speakers compress and distort audio in ways that hide problems you will hear immediately through headphones. Listen for room echo — the hollow reverberant sound that happens when you record in a large empty room with hard floors and bare walls. If you hear echo — add soft materials to the space. Hang a coat behind the camera. Place a rug on the floor. Drape a blanket over a nearby chair. Soft materials absorb sound and reduce echo without any technical equipment or expertise. Listen for background noise — air conditioning units, refrigerator hum, traffic, other people in the space. Eliminate every noise source you can control before you record. The ones you cannot control — record around them.
Step Seven — Record Your Slate
Your slate is the five to ten second introduction that precedes your audition scene. It is the only moment in the entire submission where casting sees you as yourself rather than as a character — and it is frequently the moment that determines whether they watch the rest of your tape with genuine interest or obligatory attention. State your name clearly and directly into the lens. If the brief requests your agent's name or your height — include them in that order. Deliver your slate with the natural energy of someone who is comfortable in their own skin — not the forced brightness of someone performing confidence. The slate that books is the one that makes the casting director feel like they just met a real person.
Step Eight — Record Your Scene
Record more takes than you think you need. The freedom of the self-tape format — as opposed to a live in-person audition — is that you have unlimited attempts to find the take that represents your best work. Use that freedom deliberately. Record your first take without stopping for any reason. Watch it back. Identify what you want to improve. Record again. Repeat until you have at least three takes you would be comfortable submitting. Then choose the one that feels most alive — not the most technically perfect, but the most genuinely present. Casting directors consistently report that the take actors feel uncertain about is frequently the one that books the role. The take that feels too real, too vulnerable, or too honest is often the take that stands out in a submission pile of polished but emotionally safe performances.
Step Nine — Review Before You Submit
Before you submit — watch your chosen take completely through on a different screen than the one you recorded on. Watch it on a laptop or a tablet. Check five things in order. First — is the audio clean and clearly audible. Second — is the lighting even and professional. Third — is your framing correct with your eyes in the upper third. Fourth — does the background contain anything distracting. Fifth — does your performance feel genuine and present. If any of these five checks fail — record again. The casting director sees what the camera sees. Not what you felt in the room.
Step Ten — Submit on Time
Submit your audition as early as possible within the submission window. Research consistently shows that casting directors who receive high volumes of submissions begin reviewing them as they arrive — not after the deadline has passed. An audition submitted in the first hour of the submission window is more likely to receive full attention than one submitted in the final minutes of the deadline. Speed of submission is a competitive advantage that requires zero additional talent or equipment. It requires only a system that is ready before the audition notice arrives.
How GotAuditions Gives First-Time Self-Tapers a Professional System From Day One
The biggest challenge for an actor recording their first self-tape audition is not technical. It is access. Most first-time self-tapers have no reliable way to find legitimate audition notices, no AI scene partner to read cues when no reader is available, and no way to evaluate whether their tape is technically ready before they submit it. GotAuditions was built to solve all three problems simultaneously. The platform delivers real local audition notices matched to your type and your market the moment they are posted. The AI scene partner reads your cues with professional timing at any hour. The performance analysis and technical standards check evaluate your tape before it goes out. Everything a first-time self-taper needs to compete professionally from the very first submission — in one platform.
Try GotAuditions free for 7 days at GotAuditions.com. No credit card required. No commitment. Your scripts, content, and likeness are 100% protected.