Blog
3 months agoFix Blue Face: Balance Mixed Self-Tape Lighting Fast
Stop letting window light ruin your auditions. Learn how to fix orange and blue mixed lighting for a professional, balanced self-tape look.
By Admin
Content: The Mixed Lighting Nightmare
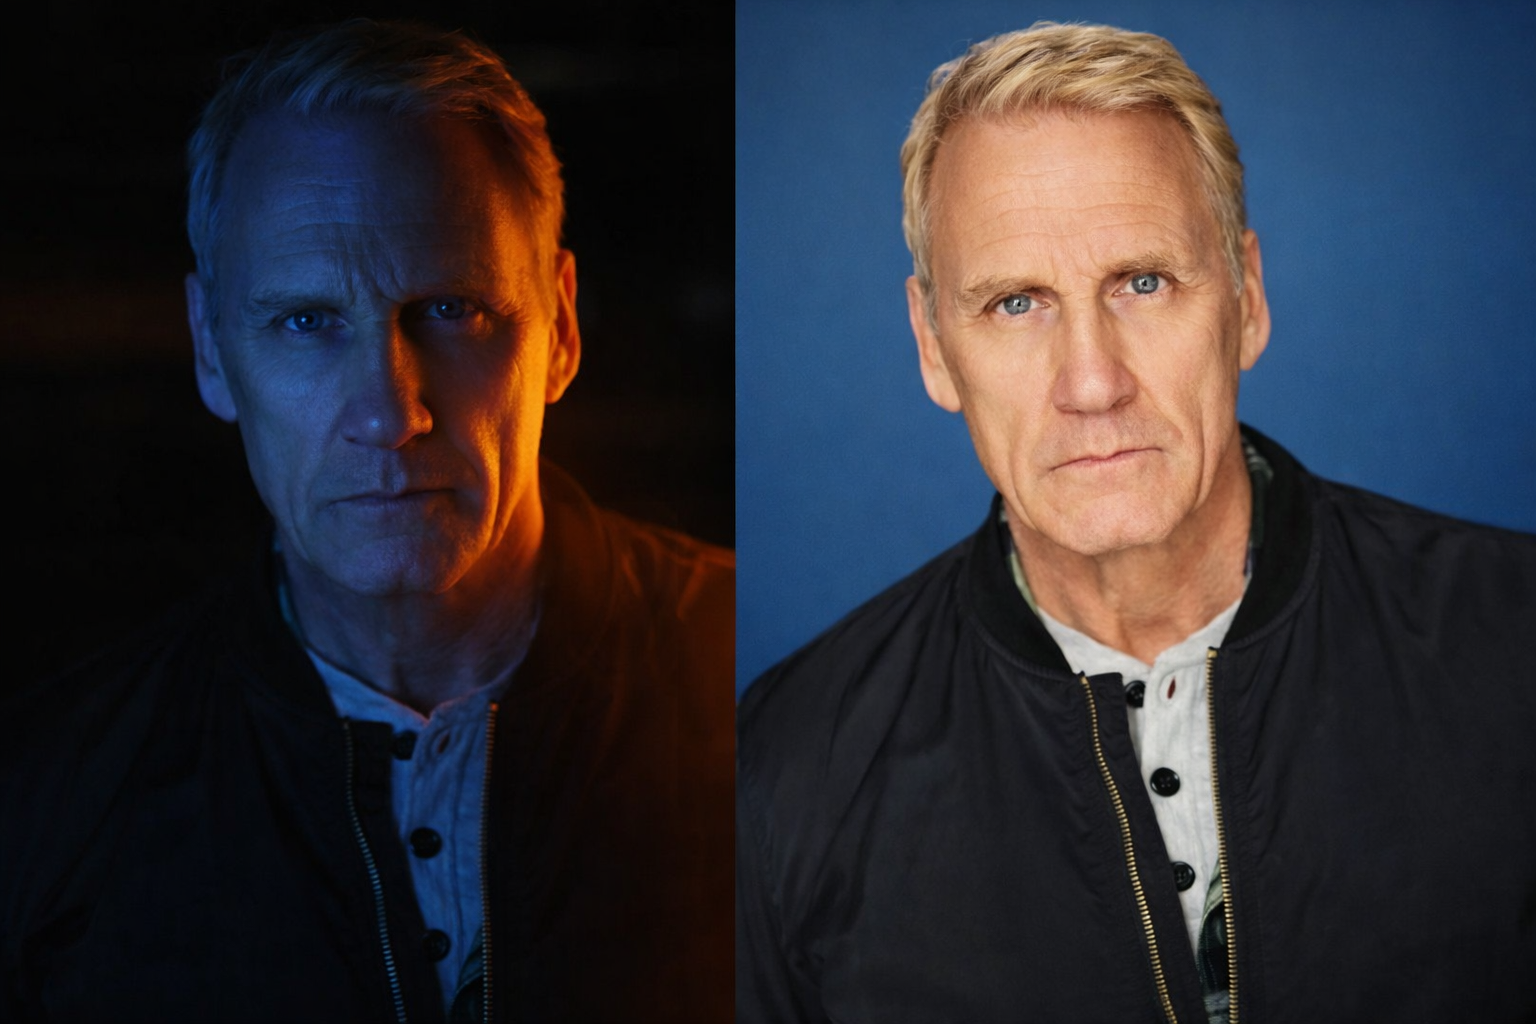
One of the most common technical mistakes that can make a professional actor look like an amateur is mixed lighting. You have likely experienced this frustration when setting up your ring light in a room with a window nearby. Your ring light provides a warm orange glow while the daylight from the window casts a harsh blue shadow across the other side of your face. This creates a distracting visual split that pulls the casting director's attention away from your performance and toward your poor technical setup. Understanding why this happens is the first step toward achieving a broadcast-quality image from your home studio.
Understanding Color Temperature
The root of the blue-face problem is a mismatch in color temperature measured in Kelvins. Standard indoor lighting and many older ring lights operate at around 3200K, which is a warm yellowish hue. In contrast, natural daylight is much cooler sitting at approximately 5600K. When these two light sources hit your face at the same time, your camera struggles to choose a single white balance. This results in the "half-Smurf" look that plagues so many self-tapes. To fix this you must ensure that every light source hitting your skin is vibrating at the same frequency.
The Quick Thirty-Second Fix
The fastest way to resolve mixed lighting is to commit to a single light source. If you are filming during the day and cannot match your ring light to the sun, you should completely block the window using blackout curtains or a heavy blanket. Once the room is dark, you can rely solely on your artificial lights to create a consistent skin tone. Alternatively, if your LED light has a color temperature dial, you should turn it all the way up to 5600K to match the incoming window light. This alignment creates a seamless professional look that ensures you are the focal point of the frame rather than your lighting gear.
Final Technical Adjustments
After you have balanced your light sources, you must lock the white balance on your smartphone or camera. Even with balanced lights, an "Auto" setting might still shift colors mid-scene if you move or wear a bright shirt. Tap and hold on your face in the camera app until the AE/AF Lock appears to ensure your skin tones remain stable throughout the entire take. By mastering these small technical nuances, you demonstrate to casting directors that you are a professional who respects the visual medium as much as the acting craft.
One of the most common technical mistakes that can make a professional actor look like an amateur is mixed lighting. You have likely experienced this frustration when setting up your ring light in a room with a window nearby. Your ring light provides a warm orange glow while the daylight from the window casts a harsh blue shadow across the other side of your face. This creates a distracting visual split that pulls the casting director's attention away from your performance and toward your poor technical setup. Understanding why this happens is the first step toward achieving a broadcast-quality image from your home studio.
Understanding Color Temperature
The root of the blue-face problem is a mismatch in color temperature measured in Kelvins. Standard indoor lighting and many older ring lights operate at around 3200K, which is a warm yellowish hue. In contrast, natural daylight is much cooler sitting at approximately 5600K. When these two light sources hit your face at the same time, your camera struggles to choose a single white balance. This results in the "half-Smurf" look that plagues so many self-tapes. To fix this you must ensure that every light source hitting your skin is vibrating at the same frequency.
The Quick Thirty-Second Fix
The fastest way to resolve mixed lighting is to commit to a single light source. If you are filming during the day and cannot match your ring light to the sun, you should completely block the window using blackout curtains or a heavy blanket. Once the room is dark, you can rely solely on your artificial lights to create a consistent skin tone. Alternatively, if your LED light has a color temperature dial, you should turn it all the way up to 5600K to match the incoming window light. This alignment creates a seamless professional look that ensures you are the focal point of the frame rather than your lighting gear.
Final Technical Adjustments
After you have balanced your light sources, you must lock the white balance on your smartphone or camera. Even with balanced lights, an "Auto" setting might still shift colors mid-scene if you move or wear a bright shirt. Tap and hold on your face in the camera app until the AE/AF Lock appears to ensure your skin tones remain stable throughout the entire take. By mastering these small technical nuances, you demonstrate to casting directors that you are a professional who respects the visual medium as much as the acting craft.