How to Remove Backdrop Shadows from a Self-Tape
Backdrop shadows come from distance and light height. Here is how to move, raise and angle your setup until the halo behind your head disappears.
By Sal Framondi
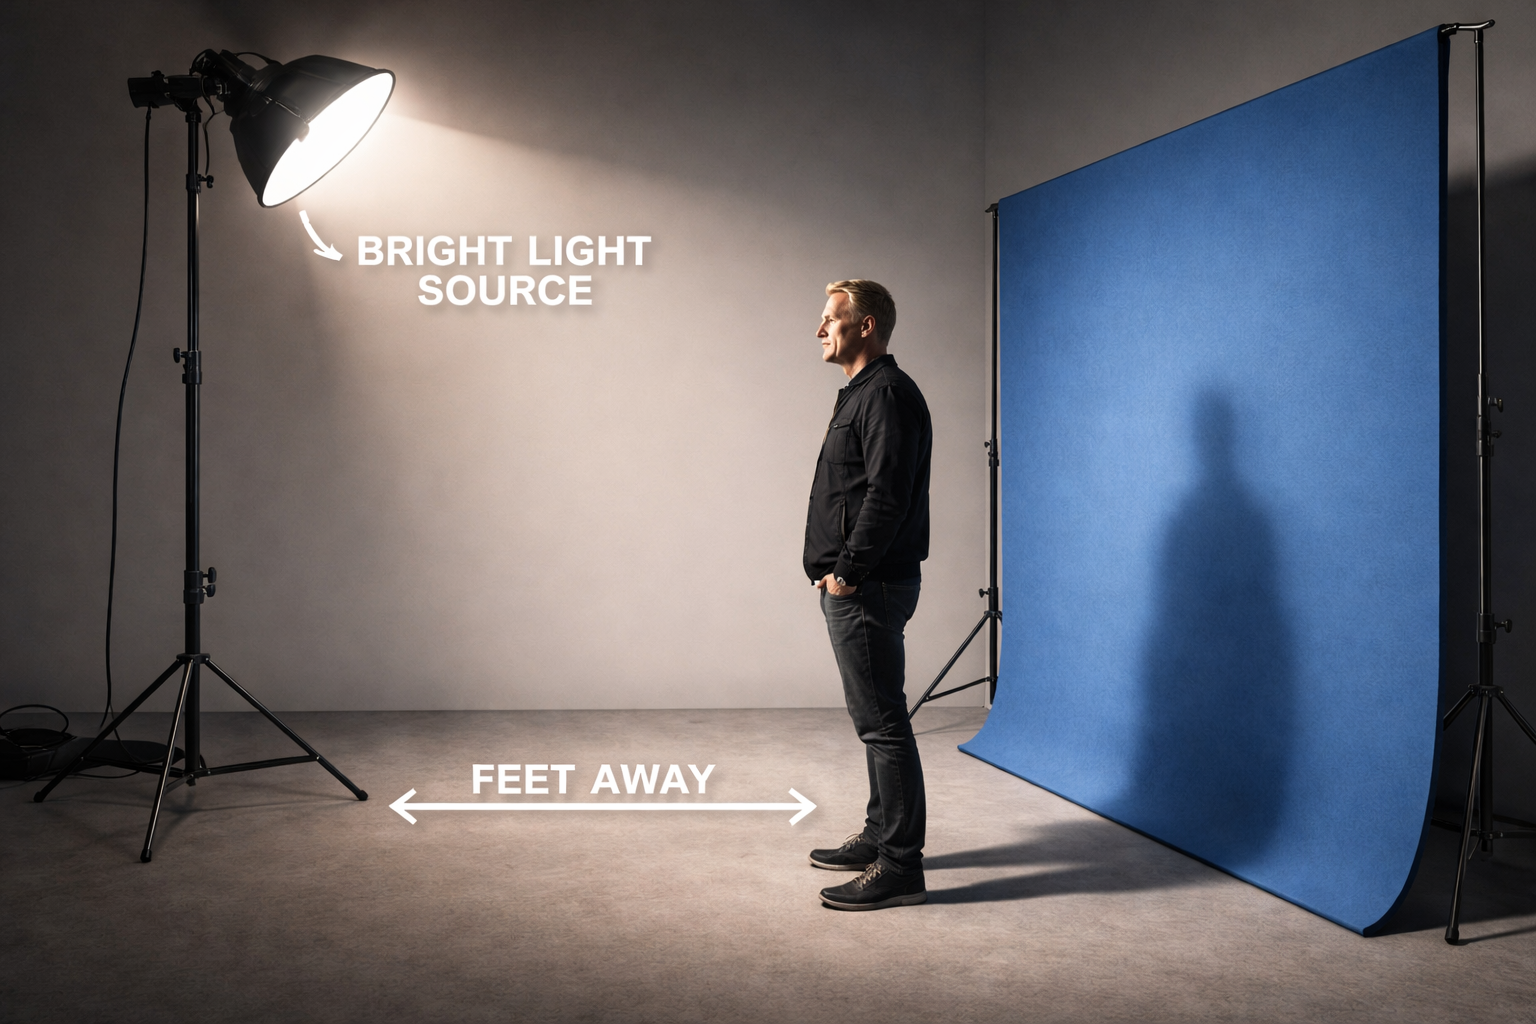
A dark halo behind your head is almost always a spacing problem, not a camera problem. If you are standing close to the wall, your light has nowhere to land except the surface right behind you. Move away from the wall, raise the light, and the shadow falls out of frame.
This post is about fixing the shadow itself. If you are still choosing lamps and positions, start with the self-tape lighting setup guide and come back here to clean up what is left.
Why the shadow appears
Light travels in straight lines. When a lamp is in front of you at roughly eye level and the wall is a foot or two behind you, the light that misses your body hits the wall, and the light your body blocks leaves a dark outline. The closer you are to the wall, the sharper and darker that outline gets.
Two other things make it worse. A small, hard light source such as a bare bulb or an undiffused LED panel produces a shadow with a crisp edge. And a light placed low, below your eyeline, throws the shadow upward onto the part of the wall the camera sees most.
Step one: move away from the wall
Before touching any equipment, walk forward. Three to five feet of space between your back and the backdrop is usually enough to soften the problem dramatically, and more is better if the room allows it.
Distance does two things. It gives the shadow room to fall behind you rather than onto the visible wall, and it lets the background go slightly soft, which separates you from it. If your room is small, stand in the longest diagonal you have — corner to corner usually buys you a couple of extra feet.
Check the result before you change anything else. Record ten seconds, watch it back, and see how much shadow is left. Often this single move solves it.
Step two: raise the light and angle it down
If shadow remains, lift your key light so it sits above your head height and tilt it down toward your face. The shadow follows the opposite path to the light, so a light coming down from above pushes the shadow down toward the floor and behind your feet, out of the frame.
A practical starting point is the light roughly 45 degrees to one side of the camera and angled down at about 45 degrees. Adjust from there while watching your own face on screen: you want light in both eyes and no heavy shadow under your nose or chin.
If you only own a ring light on a short stand, put it on a stack of books, a chest of drawers or a bookshelf to gain height. Height matters more than the brand of the lamp.
Step three: soften the light
A soft, broad light wraps around you and produces an edge so gradual you stop noticing it. A hard, small light produces a crisp outline that reads as a shadow.
Ways to soften what you already own:
- Bounce the light off a white wall or ceiling instead of pointing it at yourself.
- Clip a white bedsheet or a piece of baking parchment in front of the lamp, far enough away that it cannot get hot.
- Use a window with net curtains as your main light and face it.
- Move a small lamp further back — distance also softens the transition on your face.
Step four: add a second source or a bounce
Once the key light is placed, a weaker second source on the opposite side fills the remaining shadow without creating a new one. It does not need to be another lamp. A large sheet of white card, a foam board or even an ironing board covered in a white sheet, positioned just out of frame, will reflect enough light back into the dark side of your face.
Keep the fill weaker than the key. If both sides are equally bright, your face flattens out and loses shape.
Step five: light the background separately if you can
If you have a third lamp, aim it at the backdrop rather than at yourself. A background that carries its own even light will not show a shadow from you, because your shadow only exists where the light you blocked would have landed. A small lamp on the floor, pointing up at the wall from behind and to the side, is enough.
This is also the point where your background material matters. Deep folds and textured curtains catch shadow and hold it. A smooth, matte, mid-tone surface gives you the cleanest result. The guide to choosing a self-tape background color covers what works and what to avoid.
Common problems and what to change
- Shadow moves when you move. You are too close to the wall. Step forward before anything else.
- Two shadows. You have two hard lights at similar strength. Turn one off or soften it into a fill.
- Shadow under the chin and eye sockets. The light is too high or too close. Lower it slightly or step back from it.
- Shadow on the ceiling behind you. The light is below your eyeline. Raise it.
- Grey smudge rather than a clean outline. This is usually creased fabric, not a shadow. Iron or steam the backdrop, or swap it.
- Green or orange cast behind you. Overhead room lights are mixing with your key. Turn the room lights off and work with your own light only.
A five-minute check before you record
- Stand where you will perform and look at the camera's live view, not at the room.
- Step forward until the wall behind you is clearly separate from your shoulders.
- Raise your key light above your head and tilt it down until the shadow drops below the frame.
- Soften the light with a bounce or a diffuser.
- Add a white card on the opposite side to open the dark half of your face.
- Turn off overhead room lights so colors do not mix.
- Record ten seconds of movement, including turning your head, and watch it on the largest screen you have.
If nothing distracting appears behind you during that test clip, you are done. Reset nothing once it works — mark the floor with tape so you can rebuild the same setup next time in under a minute.
Keep it repeatable
The reason to solve this properly once is that self-tape deadlines are short. A setup you can rebuild from memory, with marks on the floor and a known light height, removes an hour of fiddling from every audition you get. Clean background, light above the eyeline, distance from the wall — that is the whole system.